
I could've sworn I took a good before photo and this one's quite the dramatic make-over...
but I cannot for the life of me find it
so here's what I have....

There it is lurking in the background behind my son with paint on his nose...Now THAT'S an honest photo of what it's like around here :)

So my husband took her all apart and actually sand blasted the base.


I used Formby's to strip the back and metal bracket....

There's the bracket all striped down...but you can't leave the metal it has to be sealed so right before I sprayed on a clear poly to protect it I wiped it down with lacquer thinner. You can also use wax and grease remover which I talked about way back when we refinished the metal lockers...you can see that post here...

And we originally bought the purple stool because we wanted the seat for a set we have. One of ours had this busted seat...so we swapped the seats out so our 2 would match.
You can see the pencil line on the top right corner where my husband cut it off with the jigsaw. To make the seat symmetrical I traced (onto paper) the good half of the seat then flipped it over and traced that on the broken side.

My husband re-drilled the holes for the bolts and I used some of this spray adhesive....

to attach a piece of 2" thick foam (this came from Hobby Lobby and was pretty inexpensive)
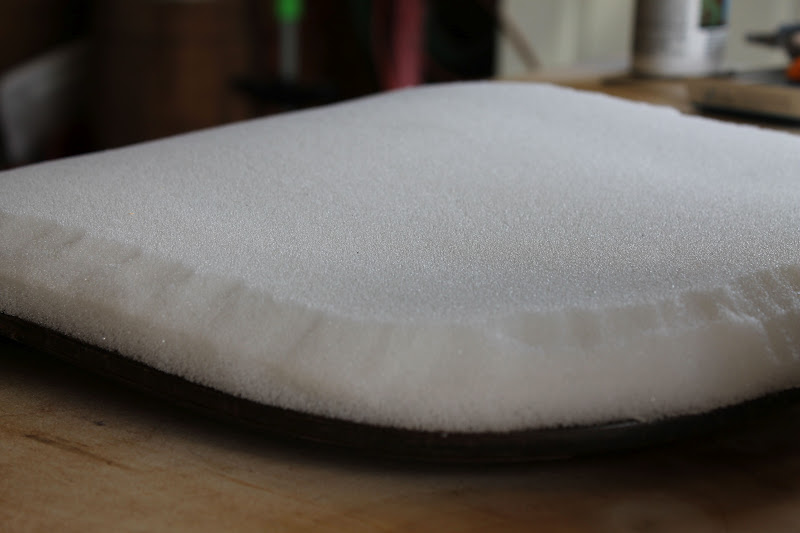
I used a razor blade to trim off the top edge/corner of the foam since we were going to upholster it with this leather seat I sewed up...trimming that off helped the leather pull around the seat better and lay smoother.

We stained and waxed the back and put it back on and got the seat all upholstered up...so now she looks like this...

Metal, wood and leather...all my favorite things!!!

Love leather...and this was the end of some I've had for awhile...

Very masculine...but waaaaay better than the purple...

The seat adjusts up and down with 4 bolts...

Nice lines and details...

These photos were taken on a nice sunny day...it's dreary and snowy today...

Very happy with how it all turned out...

Linking this too....


Very nice. It turned out so well. Probably because you all have such a quantity of talent.
ReplyDeleteThis is one cool stool!
ReplyDeleteThat is awesome! It looks like it came right out of a Pottery Barn catalog, great job! How did you sew the 3 pieces of leather together and still have individual hems on each piece?
ReplyDeleteIt 's kind of hard to explain but if you look at the photo where it's the "wrong" side of the leather you tell a little better. You stitch each piece together and then open up the seam and flatten it out (as you would if you were going to press your seams out in fabric). Only you then stitch it down on each side of the original seam to hold it down. It's gives a really nice, clean look to the leather I think....hope that helps!
DeleteOH I so love this. Wow, that is a really intense REDOUX you did! Featuring tomorrow!!
ReplyDeleteTHANKS!!! A Feature YEAH!!!! I appreciate that very much...I'm anxious to see your "new" wordpress blog when you get it switched over....been thinking about my blog too and how to let it grow some. I enjoy doing it as well and it's a wonderful way to network with other creative souls. So I'll have to grab an "I've been featured" button right?!?!?!?
DeleteGreat project! Love the leather and metal!
ReplyDelete-Lynne @ Beautiful Things