Showing posts with label furniture. Show all posts

Tuesday, August 27, 2013

Cutting Plan for Slipcovering Chair


 My very first cutting plan...
This slipcover is for the same friend that had me slipcover this chair....
 She has been patiently waiting on me.  I promised to do this for her and then we opened our Etsy shop and our booth space. 
 Needless to say it's taken me awhile.  She went ahead and bought her fabric (8 yards) back in the winter and it is now discontinued.  Yikes.  So I knew I was going to need to cut all my pieces ahead which are all rolled and labeled
 This is what I had left!  Needless to say I had the  cutting plan in my sketch book and I added all my measurements/number several times to make sure my math was right BEFORE I started cutting....I knew it was going to be close.
 The fabric is gorgeous.  The pale blue with the white and dark grey is very soft...
This is for her new son's nursery
 I usually make a box pleat in the back but since I was trying to stretch the fabric as far as it could go I decided on a zipper.  It sits nicely in the back under the piping...
 My first zipper in a slipcover but it went in pretty easily....
I also decided to go with a waterfall style pleat which I had seen on Shelly's blog.  If you've not visited her blog you should.  Especially if are a fan of slipcovers.  Her work is beautiful And read her story of how she got started...
She has a very successful business sewing slipcovers that she started out of her home when she decided to become a stay at home momma.  She very generously shared photos with me which I highly appreciated!  And she has an instructional e-book available, and I think a second one that is available or will be soon with more advanced skills.

Monday, July 29, 2013

Hand Built White Oak and Steel Frame Coffee Table

My husband built this coffee table over the last few weeks...
This ideas has been brewing in his head for awhile and it has finally become a reality....
 He fabricated this 1" steel frame...
 And used some angle iron to make these little clips which make a spot to screw the table top to....
This is some reclaimed white oak which turned out really beautiful....
This was a mock up to check the fit and see how it was going to need to attach to the frame....
 All finished up and polyurethaned to seal the top.
 She is in our booth for sale right now
This is also something that we could make in custom sizes.  Of course the wood is dependent on what you can find or purchase....
 I thought I was in the clear to take photos without someone trying to get in them since the kids were at grandma's house this day but I was wrong.....
Now the chickens try to get in on it too....
 Pretty happy with how she turned out....
So it's hard to let her go!  Maybe in the future we'll have one of these in our living room....

Tuesday, February 19, 2013

Factory Cart *Nutting Truck Co.*

 Our first large item for sale....
this will go into our booth space 
(unless someone snatches it up before then) 
*this cart has sold*
which is scheduled to open April 1st 
 A factory cart from the Nutting Truck Co....
 Cleaned up and sealed with many coats of polyurethane...
It's ready to go right into someones living room or mud room...or what a cool toddler boy's bed....
 Patina to spare and still sporting it's original "Nutting" label....
 Wonderful industrial piece...with cast iron wheels...
Wouldn't you love to hear the stories this piece could tell????
Visit our Facebook page for more info and pricing....
*SOLD*

Wednesday, January 30, 2013

How to Tuft furniture

 This leopard print beauty has been living with us for awhile now.  She has her own post here if you desperately need to know how she came to be with us....
I re-tufted the seat cushions today.
this is a good "before" photo...
She has a hard life with our two littles wallowing all over her, and the buttons have started to mysteriously work their way OFF of the couch...
I cannot for the life of me imagine how that is happening.....hmmmm
So while re-tufting these seat cushions I thought I'd share how I do it.... 
Supplies :
One large upholstery needle mine is 10" or 25.4cm
two fabric covered buttons one for each side
24" piece of linen or cotton thread
Thread a button onto the string and thread BOTH ends of the string through the eye of the needle...

Pass needle through the cushion...
This was actually the hardest part.  The foam can be really dense so these took some real effort....
Pull the needle all the way through to the other side of the cushion....
Pull the two pieces of thread all the way through the cushion, and remove the needle.....
Thread the second button on to ONE of the strings and then I pull the string to make a long and short side....
Take your long thread and make a slip knot around the short thread 
(my short thread is the straight piece in the center there)
I used to refer to this with my art students as a "pretzel" knot because it should look like a little pretzel as you pull it tighter....
Tighten that up as tight as possible around the short string...
This is what helps you get that nice deep tufting and if it's too loose the short string will keep slipping back instead of tightening up....
Pull on your short string until you get your button as tight as you want it....the idea of course is to have all your buttons the same depth into the cushions....
Finish it up with a regular double knot (the above photo twice) but you want to pull on that until it goes all the way underneath the button each time.
Snip it off right at the edge or even a little bit under the button.....
That's it...I thought I'd finish with a photo showing the difference between those I had re-tufted and those I hadn't (the two buttons on the back left)....
A pretty big difference in how they look and I was even able to readjust the cushions inside to straighten them back out too....
504 Main

Thursday, January 24, 2013

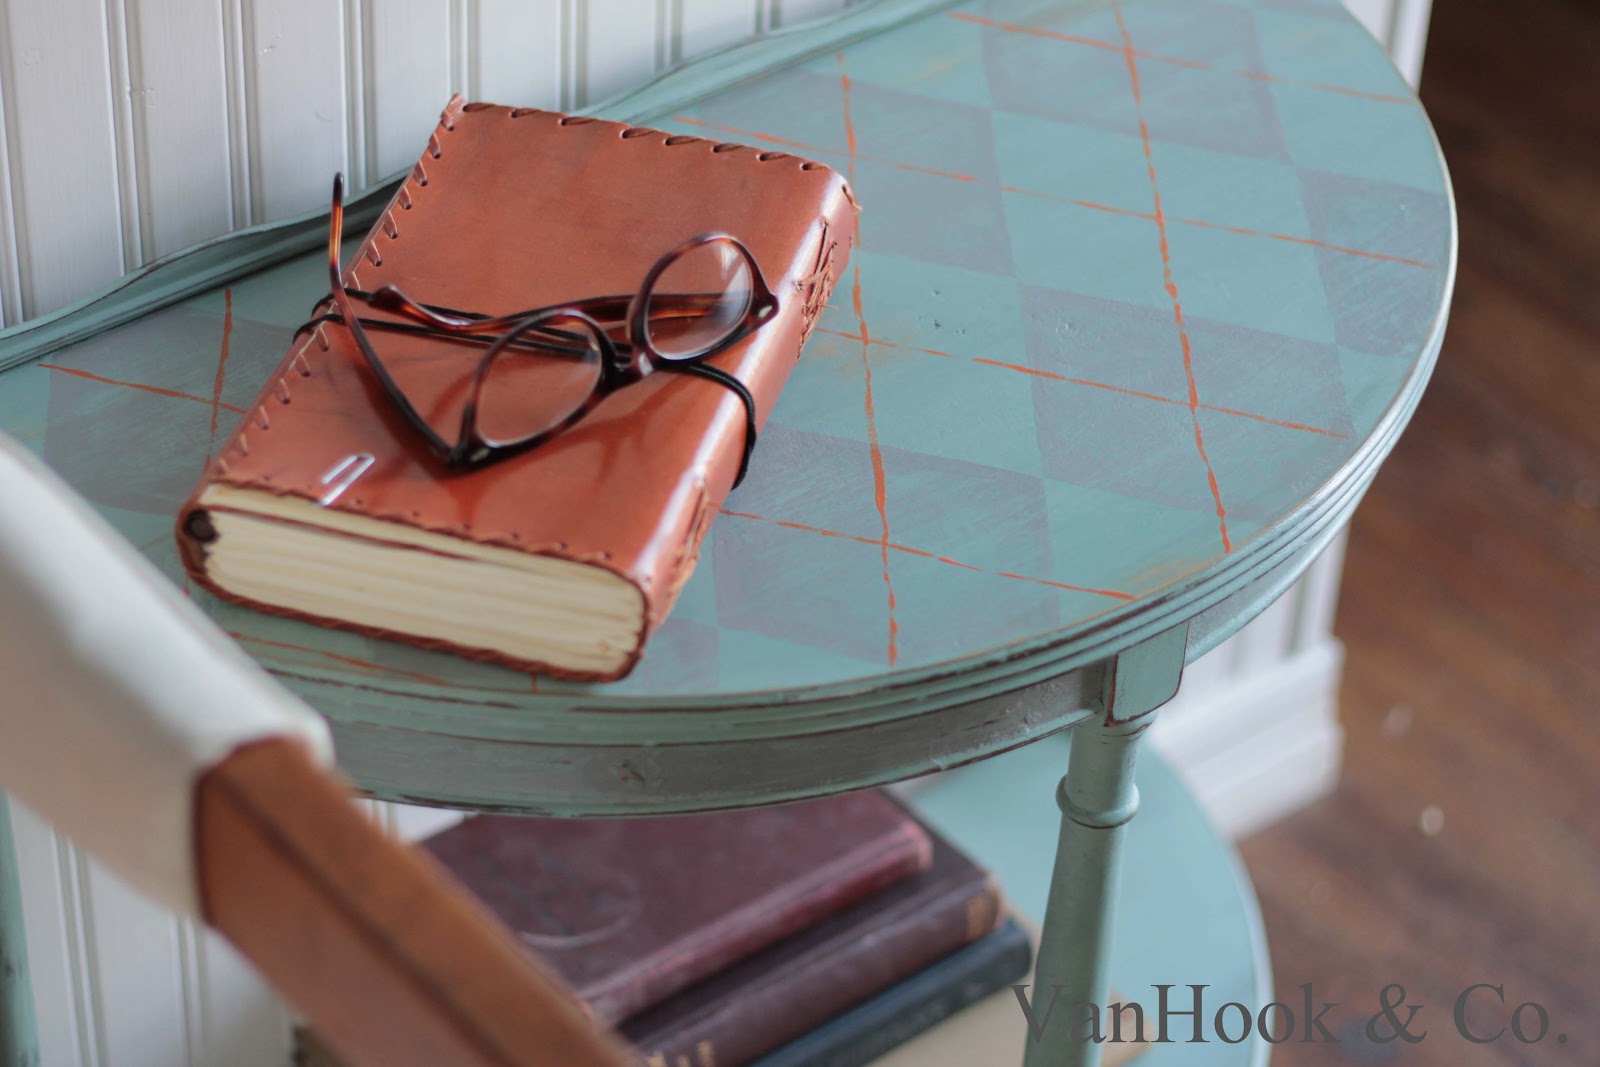
Demi Lune makeover

While we were at the Scott's Antique show I spied this little demi lune table.....
The "before" photo...
I'm thinking the messy basement background helps all the "after" blogtastic photos look even better right??!?!?!
She had some minor veneer issues but over all a great little table...
A hand painted preppy, grey and orange argyle pattern...
She cleaned up nice and now can have a whole second chance at life....
And here's a look at what me trying to "stage" photos looks like...
 They like to keep it REAL for me....
Them and all the dust bunnies I had to sweep out of the way after checking the first couple of photos.
Boring women have clean houses people!  
I know you're with me.....