Showing posts with label Before and After. Show all posts

Sunday, July 14, 2013

Metal File Cabinet Repurposed

Last summer we had an unexpected bathroom remodel.....
I got rid of the vanity and decided on a simple wall hung sink.  Which eliminated pretty much all of the storage.  We added a really cool wall hung medical cabinet to create a small vanity space last summer then I added a vintage shaving mirror...but I still needed something small for cleaners and extra odds and ends.
 So I have been looking for awhile for the right thing to have in our bathroom that would fit without dominating the whole room.  
We were at a local "shop hop" and I spotted this little metal file cabinet from "Farm to Charm"
The top lifts up and was made to hold hanging files.  The bottom was locking cabinet --which doesn't work anymore because the key broke off in the lock.
 I used ASCP in Duck Egg Blue which I mixed with some cream acrylic paint to get this color....and topped it with some clear wax

 A few week ends ago we were flea marketing and I picked up this cup pull I was going to use on our chalkboard wall calendar to hold chalk....
But it was a perfect fit on this piece and changed the way it looked in a good way....
She fits good in there!  Only took me a year to find it....that's part of the fun when you flea market  Your house is always evolving and you keep adding and changing...

Thursday, April 25, 2013

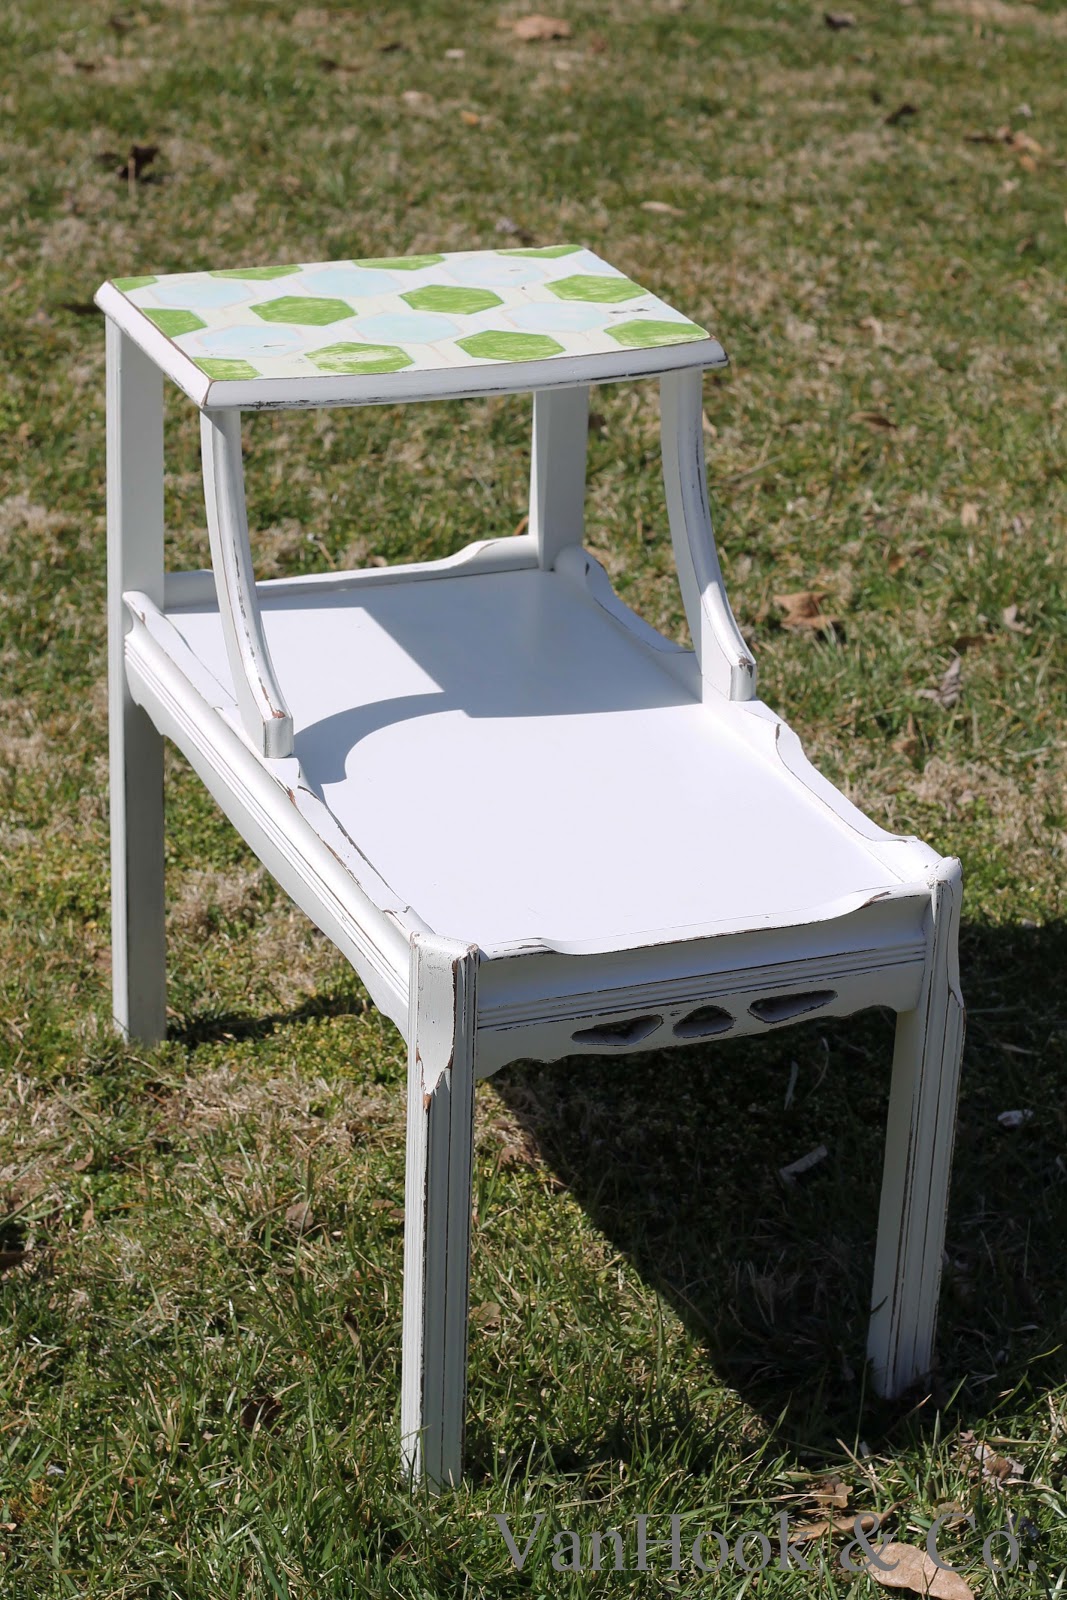
Hexagon Patterned table

We have been restocking our booth space at the Peddler's Mall...
So far we've had a good first month and it has been interesting to see what sells and what doesn't....
This little table actually came from my Uncle and Aunt who we wrangled into helping us stock our booth...
I started with a pale grey/white color.  It's a latex sample I had from painting our living room...
Then I decided to do a hexagon pattern on the top since I love painting by hand and messing around with new patterns...
I laid it all out with chalk which wipes off easily and I did the vertical lines first before tracing the hexagon.
 I am completely mathematically challenged.  So here's a link to how to draw a hexagon for those of you who might be interested...
I used my Martha Stewart acrylic paints....
Then distressed it and finished it up with some wax....
And of course it's now in our little booth space awaiting it's new home...

Friday, March 22, 2013

Peddler's Mall Booth ready to go!

So we went from the above to the below. 
The ultimate "Before and After" photos
My husband & I spent the whole day working on setting everything up.  
Pricing everything and labeling all of it...
Then relisting it all in our own log...
I still can't believe that we have a booth space!  
We have forever said that it would be so much fun to shop for a booth---
to be able to buy things that we'd have to pass up because we don't have space or can't really use it.
And this is one of the only places were we could do both vintage items and the things that we'd like to hand make....
But our rule is always the same...
We buy what we like.
And so far that has served us well....
Industrial and vintage...
Alot of fun odds and ends....
We feel so blessed to have the opportunity and now we're holding our breath to see what God has planned for us from here....

After all He owns the cattle on a thousand hills...


Thursday, January 24, 2013

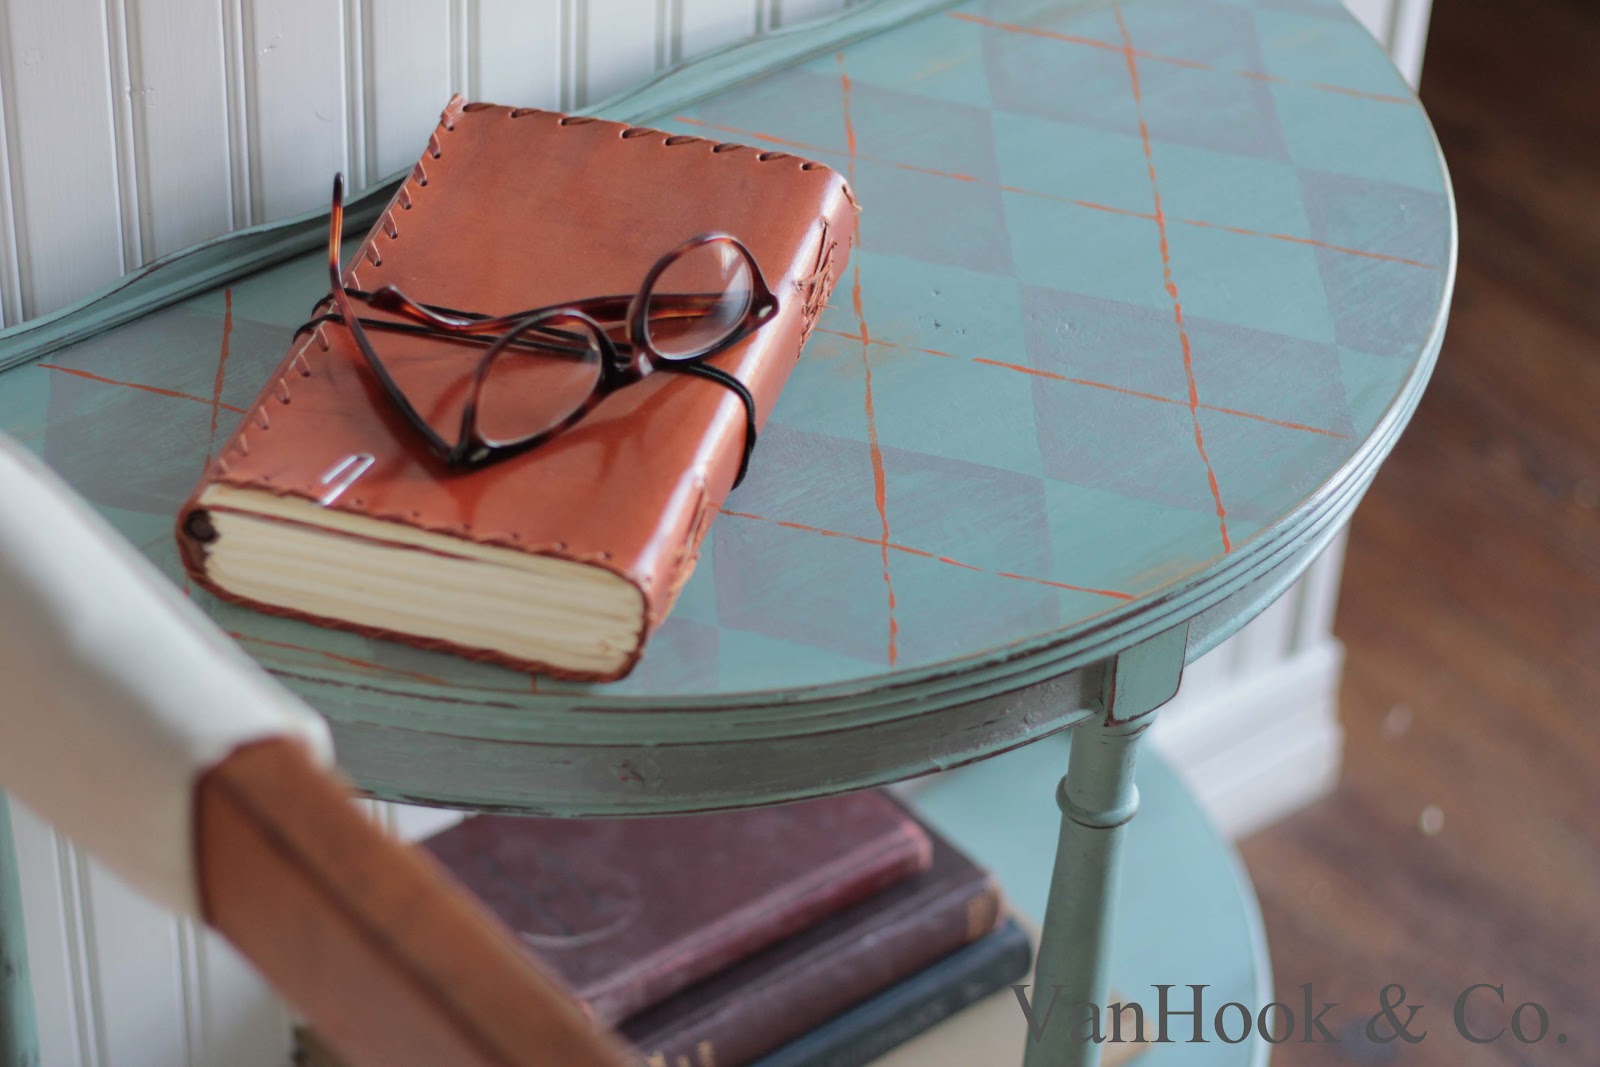
Demi Lune makeover

While we were at the Scott's Antique show I spied this little demi lune table.....
The "before" photo...
I'm thinking the messy basement background helps all the "after" blogtastic photos look even better right??!?!?!
She had some minor veneer issues but over all a great little table...
A hand painted preppy, grey and orange argyle pattern...
She cleaned up nice and now can have a whole second chance at life....
And here's a look at what me trying to "stage" photos looks like...
 They like to keep it REAL for me....
Them and all the dust bunnies I had to sweep out of the way after checking the first couple of photos.
Boring women have clean houses people!  
I know you're with me.....

Saturday, October 20, 2012

Handpainted Houndstooth Pattern

 I do love a great before and after set of photos!
We found this great little piece on a recent trip to an outdoor fair...
It had lots of wear and tear ---unfortunately one piece of the corner trim was completely missing.  So I had to take all the trim off...
I bought some milk paint at the Country Living fair in September and this was the perfect piece to try it out on...
 I mixed half French Gray and half Cream for the body of the piece and used straight Cream for the details....
 The gold color is acrylic paint....
 Originally I planned to only do the cream thinking that the pale gray would be enough of a contrast...
But once I got it done I just wasn't happy with the way it looked
...something just wasn't quite right.
 The gold was just the thing it needed to really make it all come together.
I love doing this kind of stuff....
It just feeds my need to create 
--and when I see it all finished up like this it is so satisfying.
Hopefully this lovely little piece will have a whole new life for many more years to come

Friday, October 12, 2012

Reupholstering Seats missing caning

These two beauties came from my sister-in-law who picked them up for a song at a local flea market this summer....
I decided to stain these and upholster them
--it kind of looked like they had a caned inset of some sort at one time.

I love painting furniture---the way it looks all distressed but I have an appreciation for stained wood furniture too....
I tacked in some webbing for support and added some thin, 1 inch thick foam on top.
I really had my heart set on using this pale blue green leather with nail heads but the piece I had was just too narrow, and I had trouble getting the nails to go in straight.  
Probably because the oak is a harder wood...
I finally gave up and decided to use a feed sack I had on hand with some nice blue stripes and stenciled numbers...
 I think some lightweight,flexible stabilizer would have helped give the seats a smoother finish and I may try that if I ever did this type of seat again....
 It's very hard to keep it all straight with the feed sacks being a looser woven canvas 
 And you're trying to keep the two sides similar and straight but the feed sacks aren't perfectly symmetrical....
Some trim to hide the staples and finish them off  
And they're ready to go off to the shop...