Showing posts with label felting. Show all posts

Thursday, October 6, 2011

Warm Woolen Mittens


Finished up 8 sets of felted mittens to take to the shop for the festival this week-end....


When I started these I had intentions of working on them throughout the year...things changed a little bit :)
 I even found a cashmere men's sweater that made some really yummy mittens...
 The pink cable knit turned out cute too...

 I have quite a bit of the cashmere left...I may have to make a pair for myself...or even a pillow sham....

 And while looking through my fabrics/sewing stuff to find the bunny rabbit pattern for the shower last weekend ----I stumbled across these reversible headbands I made and forgot about...
Next on the list is some jewelry...leather and metal both....
Linking this to

freckled laundry

Friday, February 18, 2011

Mittens are finished!

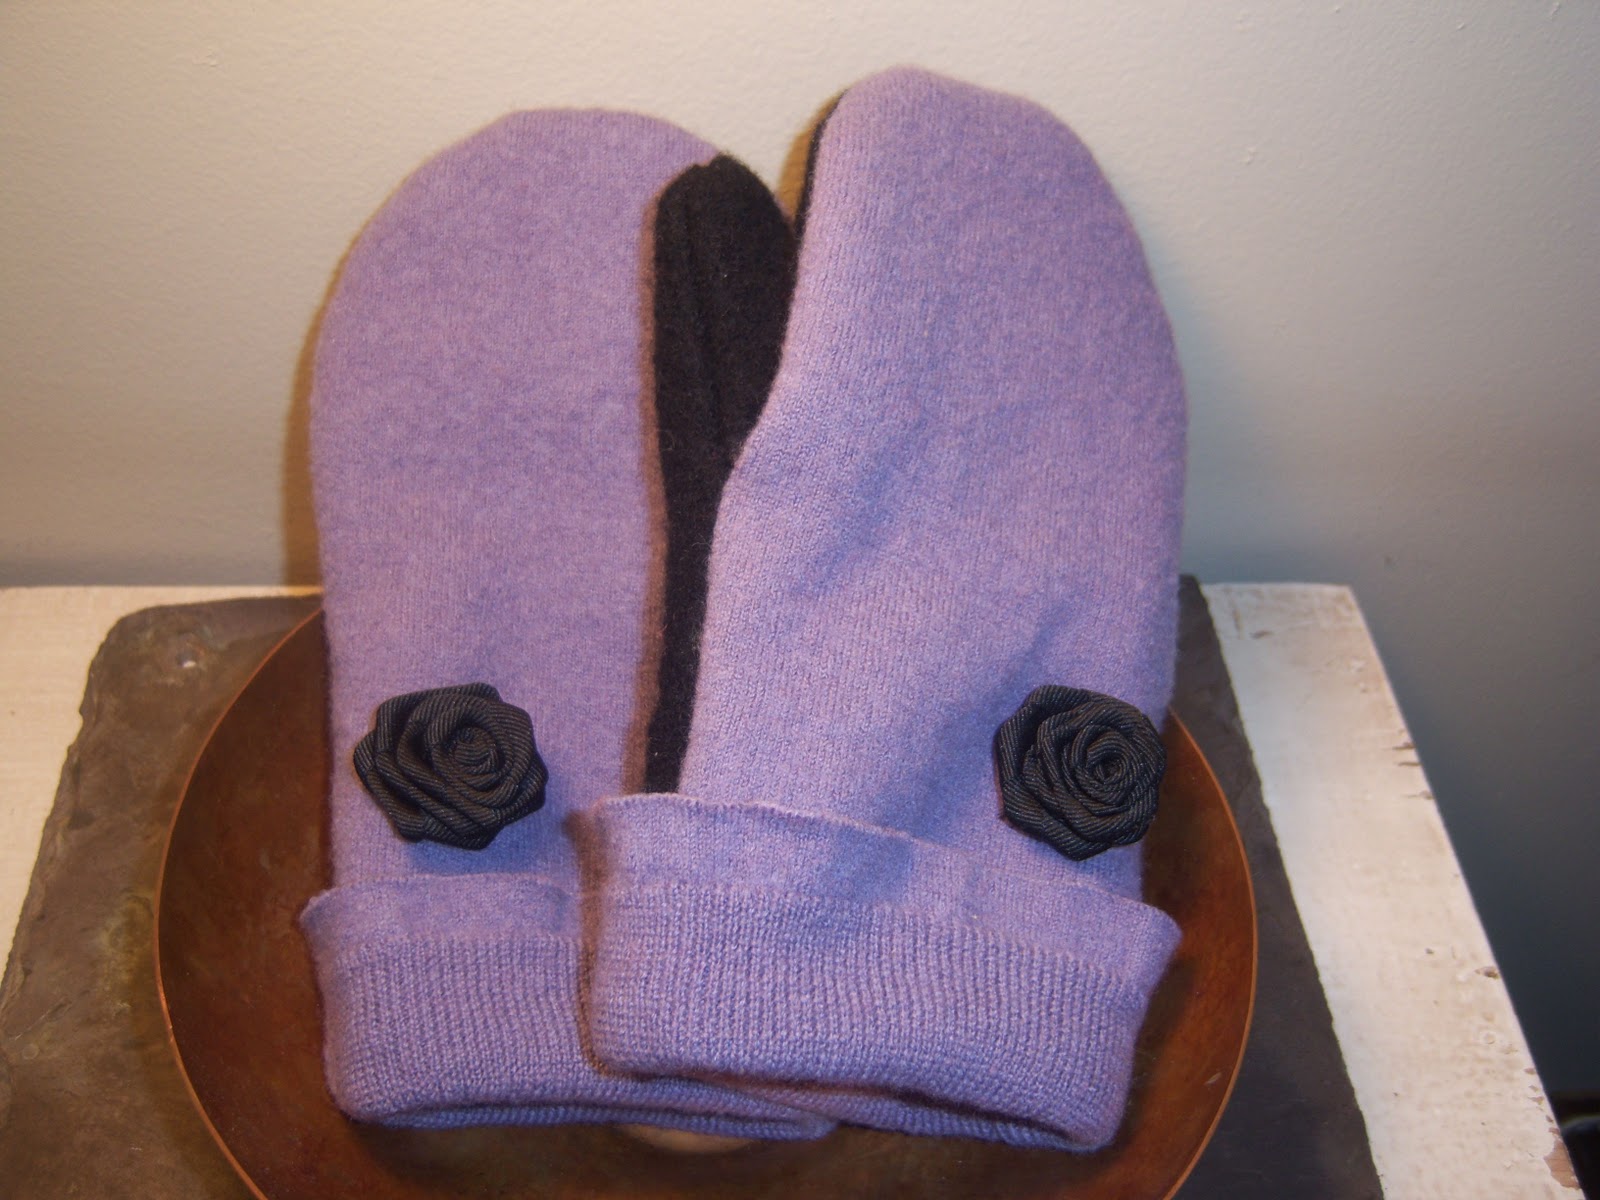
I just finished up the purple mittens and I'm really happy with how they turned out!  To see the whole process from the beginning you can look at Felting Goodwill Sweaters then Mitten Making Continued and Mitten Pattern and Cutting the Pieces .  These will be going to Winsome Cottage eventually....
How girly are these?!??!?
Some step by step pics if you're interested....I start with the lining.  Sew across the palm pieces and around the thumb stopping at the pin.  Don't forget this is the lining.  You sew "right sides" together but you won't be turning it inside out.
 Open those two pieces up and pin to the back of the hand piece.  Here's how I do the thumb. You can also sew up to the thumb.  Stop.  Take the whole thing out and place it under the needle on the other side of the thumb....
You can see that the seam is pretty far in as this is the lining.  You want it to be just a smidge smaller that the outer mitten.  Trim your extra and clip you're curves!!!!  It will lay so much better....
 This is the lining on my hand.  And that 's how I put it into the outer mitten.  Which gets sewn together the same as the lining only you turn it right side out when you're done.

And there they are put together.  At this point I get my cuff worked out....
 I put it inside and you can see I ended up trimming off quite a bit.....
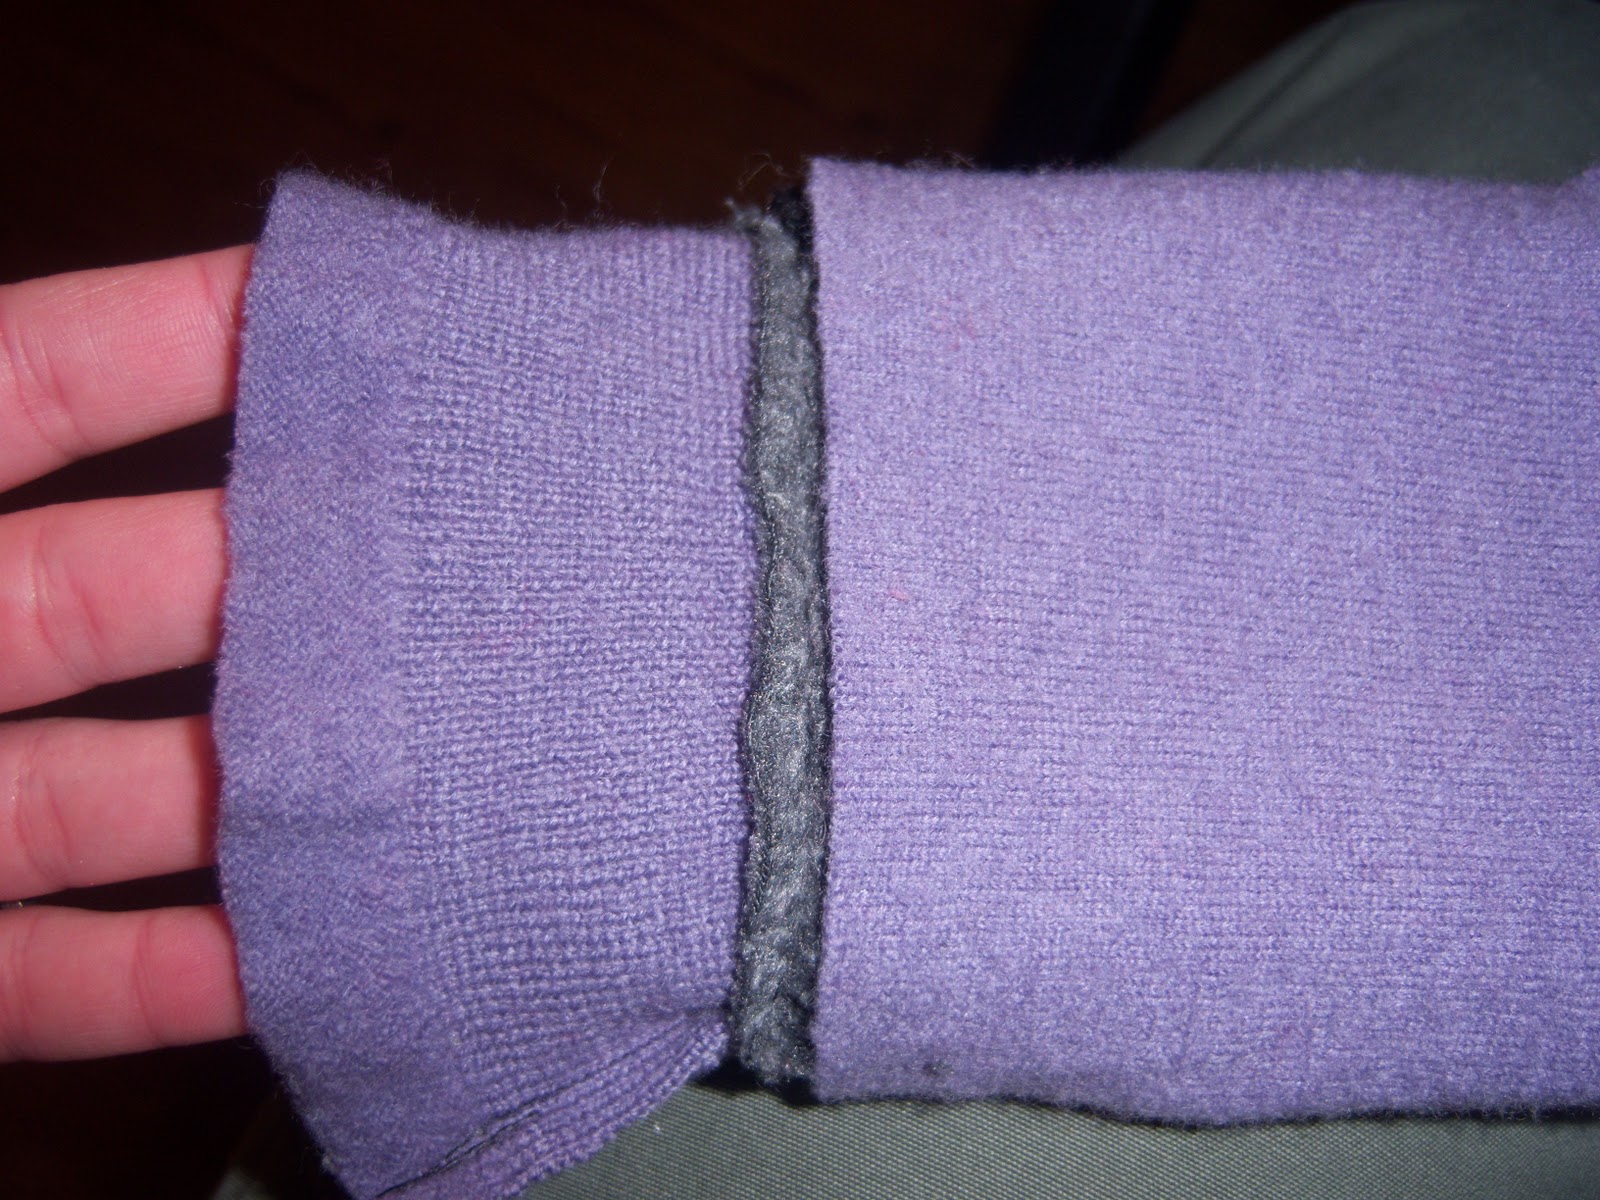
 On this set I did it a little different---usually the "ruffle" part you see at the bottom would be the edge getting sewn to the lining and it would be down in the lining.  But I kind of like the ruffle showing and you don't have to hem so....

The last step is hand stitching the outer mitten to the lining.  I have a super duper heavy maching with NO "arm" So I can't slide this over my machine to get it under the needle.  I just do it by hand....
Flip the cuff and sew on the flower.....here are a few more shots of the "finished" product!!!

I'm entering this post into Under the Table and Dreaming's Sunday Showcase party!!!  Check out all the talented entries...tons of great ideas!
UndertheTableandDreaming

Thursday, February 17, 2011

Mitten pattern and cutting the pieces

Continuing on with the mittens....I told you it takes awhile!  And I like to see alot of pictures/instructions when I look at others' projects so....if you're interested keep looking!

Here's the pattern I use.  If I was more organized I would've figured out a way to attach this so you could print this off...I'll just give you the measurements instead.  The main piece (back of the hand) is 8 & 3/4" long by 5" wide.  You may notice the label 1a on the palm pieces.  You have to flip these two pieces over when cutting..it helps keep the whole "left" and "right" thing straight.  From the top to the bottom of the thumb on the cream piece it's 8".  From the bottom to the top of the thumb on the white piece it's 7 and 1/4".  Both of these pieces are 5" wide.
 I just place the piece and cut.  No pinning or drawing...

 I cut about 12" for the cuff--this is probably way to much but you can always trim.....
I'm not a big fan of purple but I think these will be really feminine when they're done!
These will  be lined with fleece.  They are unbelievably warm.  You cut the same three pieces for the lining.  

Making sure to keep the left and right straight.  I keep mine together as I go...I've sewn them "wrong" too many times so I finally learned to do this. I use the same pattern but when I sew it I just sew it a little bit smaller to account for the fact that it will be inside...I'll have pics of that as well.


Wednesday, February 16, 2011

Mitten Making continued

I decided to use this Flower tutorial from Red Barn Revival to "girly up" my mitten making.  These are made from some grosgrain ribbon which I have oodles of from the purse making "phase" of my life :) ....

These mittens will go to Winsome Cottage along with some knitted hats once I get several of each done.  It will take me awhile....for those of you thinking "how does she do this with children?" that's the answer.  Everything takes forever!  I just keep plugging away....get something out...change a diaper.  Go back cut a pattern piece...get a snack (not for me)....go back cut another pattern piece.  Try to remember what I was doing when I started....get something for Mighty to chew on.  Go back --you get the picture.  The blog makes it looks easy and organized.  I assure you IT'S NOT!!!
So here are a couple of the sweaters AFTER being felted (fulled) 

Next I cut them apart so I know what I have to work with...
 The cuff and waist make great cuffs for the mittens....
 Yeah it's hard being 3 people...this is at like 8:00 AM we 've already had hot chocolate, watched cartoons, fed Mighty....our day starts early....

 I always cut it apart at the seams because it's kind of hard to find them once it's been felted. And below is what 's left to work with.  Notice the "helping hands" at the bottom left of the photo..."Scissoring" is one of his favorite things to do.  He's waiting to get the scraps so he can get started...

Tuesday, February 15, 2011

Felting Goodwill sweaters

I have purchased some wool sweaters from our Goodwill recently and am going to be making some more of the mittens like these I showed you on one of my first posts.

So here are some pictures of the sweaters before the felting process.  I'm especially excited about the cream colored one in the upper right corner.  It's %100 cashmere which will make some really soft, pretty mittens I think!  

This is really supposed to be called fulling not felting.  I was corrected by someone once for calling this felting.  True felting is using the roving/wool and meshing the roving together into felt.  But if you look into it online you can search for felting and find instructions on how to do this....
What shrinks the fibers of the sweater is the process of agitating it in very hot water with soap.  You can do it by hand or you can put it into your washing machine.  It is best to wash only the sweater or sweaters so they move freely in your machine.  I would highly recommend putting them into a pillow case or something similar as it will leave "fuzz" in your machine.  

Especially if you do several items at once.....I learned the hard way:) One of the great things about this is that you can cut whatever pieces you want and you don't have to worry about hemming the raw edges!  Which is great for those of us who need "instant gratification" crafts every now and then....So I've included my measuring tape to (hopefully) show you the difference in size once they are felted.

They shrink quite a bit so I usually look for men's sweaters.  You shouldn't really be able to see the "knit" once you've felted them --if you can still see it you can try to re-wash it and sometimes they will shrink a little bit more....Look for sweaters that are %100 wool or anything %100 animal yarn.  Sometimes if they're %95 wool and something else they will still felt sometimes not.  And now there are alot of washable wools now labeled "superwash" so sometimes even when it's %100 it still won't felt.  I'll be sharing my pattern soon...and cutting out some pieces to start making mittens!