
The chair is actually finished and ready for trim but I was making freezer jam today from our strawberry picking last night so I'm still sorting through photos. And trying to post them all in order.
I usually start with the upper part of the chair so you can lean on the bottom without worrying about the new fabric on the seat.

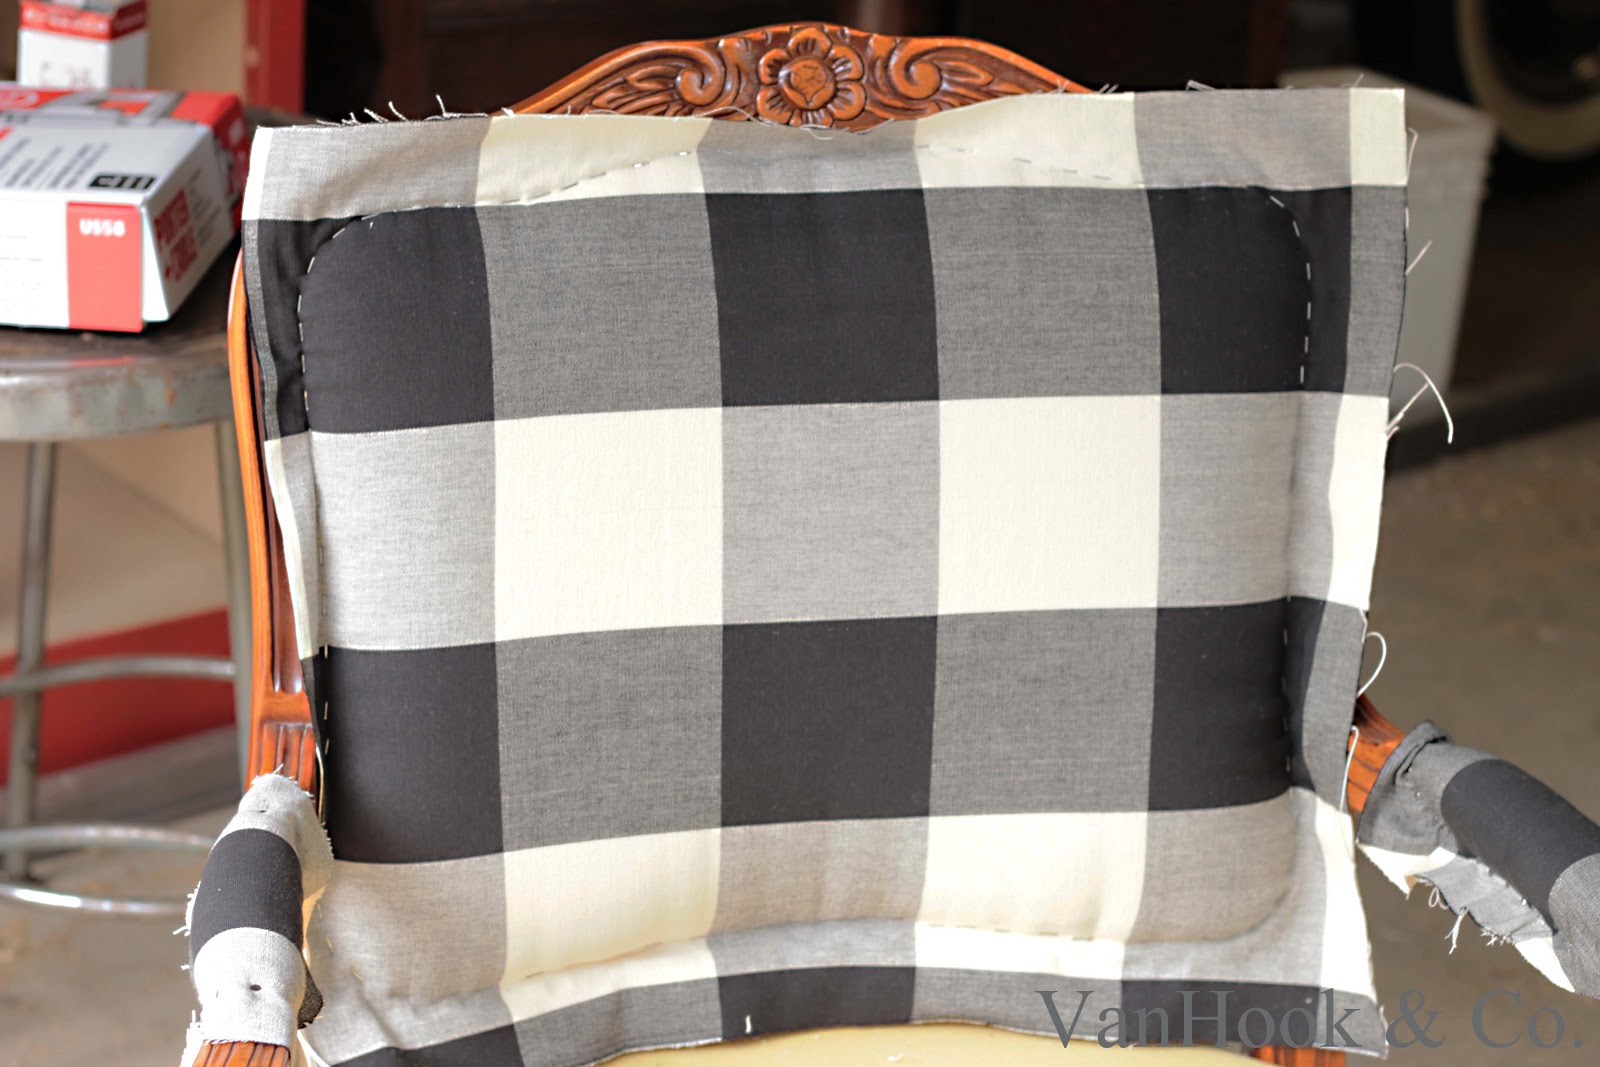
This is the back of the upper seat.
Already stapled on. I was occupied with using the new stapler and forgot to take other photos of starting it...

There was a thin layer of foam which I put back after I stapled the fabric on...

I folded the fabric around it and tacked it in a few places here and there to hold it in place...

Next was the thicker foam for the upper seat and the next layer of fabric....

I usually do a staple in the center top, then center bottom, then center of each side to hold it all in place. You want to really pull the fabric tight. Not so much that you distort the pattern but the foam is going to give a little when someone sits in it. Keep smoothing and pulling all the way around..
I usually just keep dividing the space between the staples in half and working my way around.

I trim mine with a razor knife. Do this part slowly and take your time. If you trim it too close to the staples it can come loose and that means a whole new piece of fabric. But you have to be able to cover the staples and the excess fabric with the trim.

 And ready for the final trim to hide all the staples....
I can't wait to see her all finished up!

The upper portion and arms are all finished up here....

I can't wait to see her all finished up!
No comments:
Post a Comment