Showing posts with label ZINC. Show all posts

Monday, May 6, 2013

Zinc Covered Letters

We have scrap pieces of zinc left from covering tables that are pretty much too small to do anything else with....
so here's what we decided to do...
 We laid out block letters (an H and an L) on 3/4" plywood and then cut them out with the jigsaw...
 Here's the H all cut out....it's 18" tall by 12&1/2" wide...
To cover the H we added the 3/4" and another 1/2" to be able to wrap it around the sides and all the way onto the back so there is a place to tack it into the wood....
Here's how I decided to tackle the inside corners. 
The photo of the "L" below shows the metal clipped for the inner and outer corners which might help it make sense...
The outside ones are easy because you cut a square out and solder them...inside corners you end up with a "v" shaped gap...
So I added these small pieces and soldered the seams....

 And since these are decorative letters I decided to leave the corners a little more rough and not worry so much about smoothing them out all the way...

 It's in our booth (#15 aisle #2) now at the Peddler's Mall....

Wednesday, November 7, 2012

Caring for Zinc Counters or Tabletops

 Here's my big zinc experiment....after doing several table tops and reading quite a bit about the zinc I mentioned at the bottom of this post on aging it that the patina and wax is not permanent...it wears.
Anything acidic can take off the wax and patina...
If you leave the zinc bare it will darken and grey on it's own over time.  Or you can patina it yourself and wax the surface.   Either way the following things will still affect the surface....

 This is a piece I specifically aged and waxed for this purpose.
Anything acidic will eat through the wax and of course then the patina too....
 And pretty quickly...
 And rubbing the liquid off made it worse...blotting it seemed to affect the surface less.
 Another angle --it seems to look different from different angles but either way it's a definite "mark"
 Leaving it longer didn't really seem to make that much of a difference...

 The photo above is immediately after 
 I've had this piece on our kitchen counter in one spot or another for a couple of months now...
And the spots are darkening back up.

 If you are a neat freak this may not be for you!  I think that if I lived with it as my counter I would just let it just keep building some character of it's own....
You can use scotch brite to take it back to it's original (which looks alot like stainless steel) 
If I had a really huge spot or something that left a very distinct mark I'd probably use that to gently blend it all in and then let it go.
The place we buy our zinc from sells a clear coat that you can spray the surface with but we have not used that and I'm not sure about it being "food safe"...
The general information out there says to just use a damp cloth and mild soap to clean it.
I've also read that you should use a cutting board because it scratches and protection for hot pans or dishes.

Saturday, September 15, 2012

VanHook & Co. featured on Apartment Therapy


Back in March I wrote up a little DIY post that we were excited about.  You can see it HERE...
My husband and I were able to work together on a fairly large project recreating a dining room set.  We painted it with Annie Sloan's Chalk Paint in Emperor's Silk, and topped it with a piece of zinc sheet metal.  
Just found out yesterday that Apartment Therapy wrote up a blog post about our work....
Wow...little us...it is so nice to have your work appreciated.  So a huge THANK-YOU!!!! to the people at Apartment Therapy.  They have an amazing blog/website about all sorts of home related topics.  We are honored and humbled to be included on their site!


Wednesday, August 29, 2012

Aging Zinc


 I just realized that I didn't ever post on how we aged our zinc table top (see the topping a table with zinc post here)
 In this photo the new zinc is on the right.  It looks similar to stainless steel.  The piece on the left is after several coats of cupric sulfate solution.

 The cool thing about the zinc is that this isn't permanent. You can take 320 or 400 grit sandpaper to it and go all the way back to the shiny, original finish.
 The cupric sulfate is a blue color and it is a chemical.  You mix this with water.  The more water the less of a patina you get, but if you put it on straight with no water it turns almost black.
 This is the top of another table we did with one coat of solution brushed on.  You can rub it on with towel as well....
We let it sit overnight and then wipe it down with a wet towel.
 You can also roll it on with a paint roller or cover your table surface with saran wrap which puts some interesting texture in the patina....
This is several coats of patina applied over several days.
 These are some edge pieces that ran down the edges of the table base....
If you just put your zinc on something and do nothing to it;  it will age on it's own over time.  The company we buy our supplies from sells wax similar to butcher's wax and we use that to seal it up.  If your piece is going to get alot of heavy use the wax will eventually wear off, and then the patina will start to wear off as well.  If you notice  that it seems to be wearing off you can reapply the wax.  Anything acidic can take both the wax and patina off completely and it will be shiny again.    

Monday, August 27, 2012

Feminine Zinc Topped Table

 I LOVE this room...but it's not mine :)  I just "vanhooked" the table for a sweet friend of mine.  I love the red print on the curtain fabric with the dark gray on the walls and the crisp white bedding....this is her new guest room since her oldest son recently got married and moved out....
The before photos are upside down because I'm always excited about starting and I forget to take them until I've already started....
This table had sat in their entry way of their home and unfortunately a chandelier fell on it and broke off a piece of the top right in the middle of the table....
So I painted her with ASCP in Duck Egg and distressed it a little bit...
My husband topped it with a piece of zinc to disguise the "injury"...
Now she's a got a whole new look working...
Even though there was a "shape" to the edge of the table top the zinc still wrapped around it pretty easily and followed the edge really well....
I painted the hardwear and the edges of the drawers with ASCP in Old White....
She is now *girly* compared to how she looked before...
We did a whole post on topping a table with zinc HERE if you're interested in seeing how we do it. And there is another post on aging it HERE... 
A nice piece of furniture given a new phase of life!

Saturday, March 17, 2012

Arles chalk paint and zinc

 I love little tables this size maybe because they're so versatile and I'm always changing things around.... 
Below is how she started out.
and her top was pretty beat up and a little wonky--love that word
 I actually painted her with a coat of latex while we  were working on the dining room set (for a customer) we painted in Emperor's Silk and topped with zinc...that was BEFORE I knew I was going to own my own chalk paint
 So I decided to take another go at the chalk painting after reading the book(Quick and Easy Paint Transformations by Annie Sloan)....*very* helpful I might add.  So thank-you Marykay!!!!
 And I felt like this little piece turned out alot better than my first try.  She says to paint "sloppy", and if you do it gives you a much more textured piece...which is even more apparent once you wax...
 This would be ME working on wrapping the top in zinc.  I wanted to get a little more hands on with this one so I could learn more.  I soldered all the corners and did a lot of the hammering. You can see the tutorial post on topping with zinc here...I have to say that post has been all over the place and is getting tons of traffic....
 So here's the top all finished up.  We also decided to try distressing this one a bit as well as aging, and waxing it.
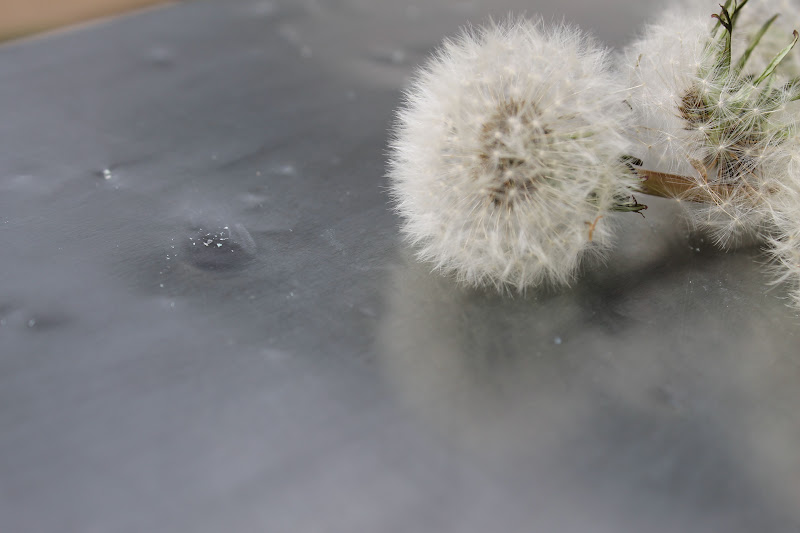
 A closer look at the top...*those dandelions are from Doodlebug* when he saw me putting flowers and things on the table he wanted to help decorate it.  A boy after my own heart...sigh....
 Some detailed photos of the paint finish and the glass knob...and good texture on the leg in the photo below as well...
And I 'm hoping to do a separate post on the aging process here soon....I'm going to be decorating our church nursery so I've been busy getting ready for that...
A coffee filter project with a little spin and a few other things...
Chic on a Shoestring Decorating
Furniture Feature Fridays