Showing posts with label Doodlebug. Show all posts

Tuesday, August 13, 2013

Waxed Canvas & Leather Backpack

The final waxed canvas backpack
He is so excited which is nice--
 sometimes he says he'd like us to make something and then he loses interest....
This will be the ultimate durability test of one of our goods.  If it can survive him and kindergarten it can survive anything!
I did a separate post about waxing it here
It seems to be setting up better now that it's been sitting a little longer....
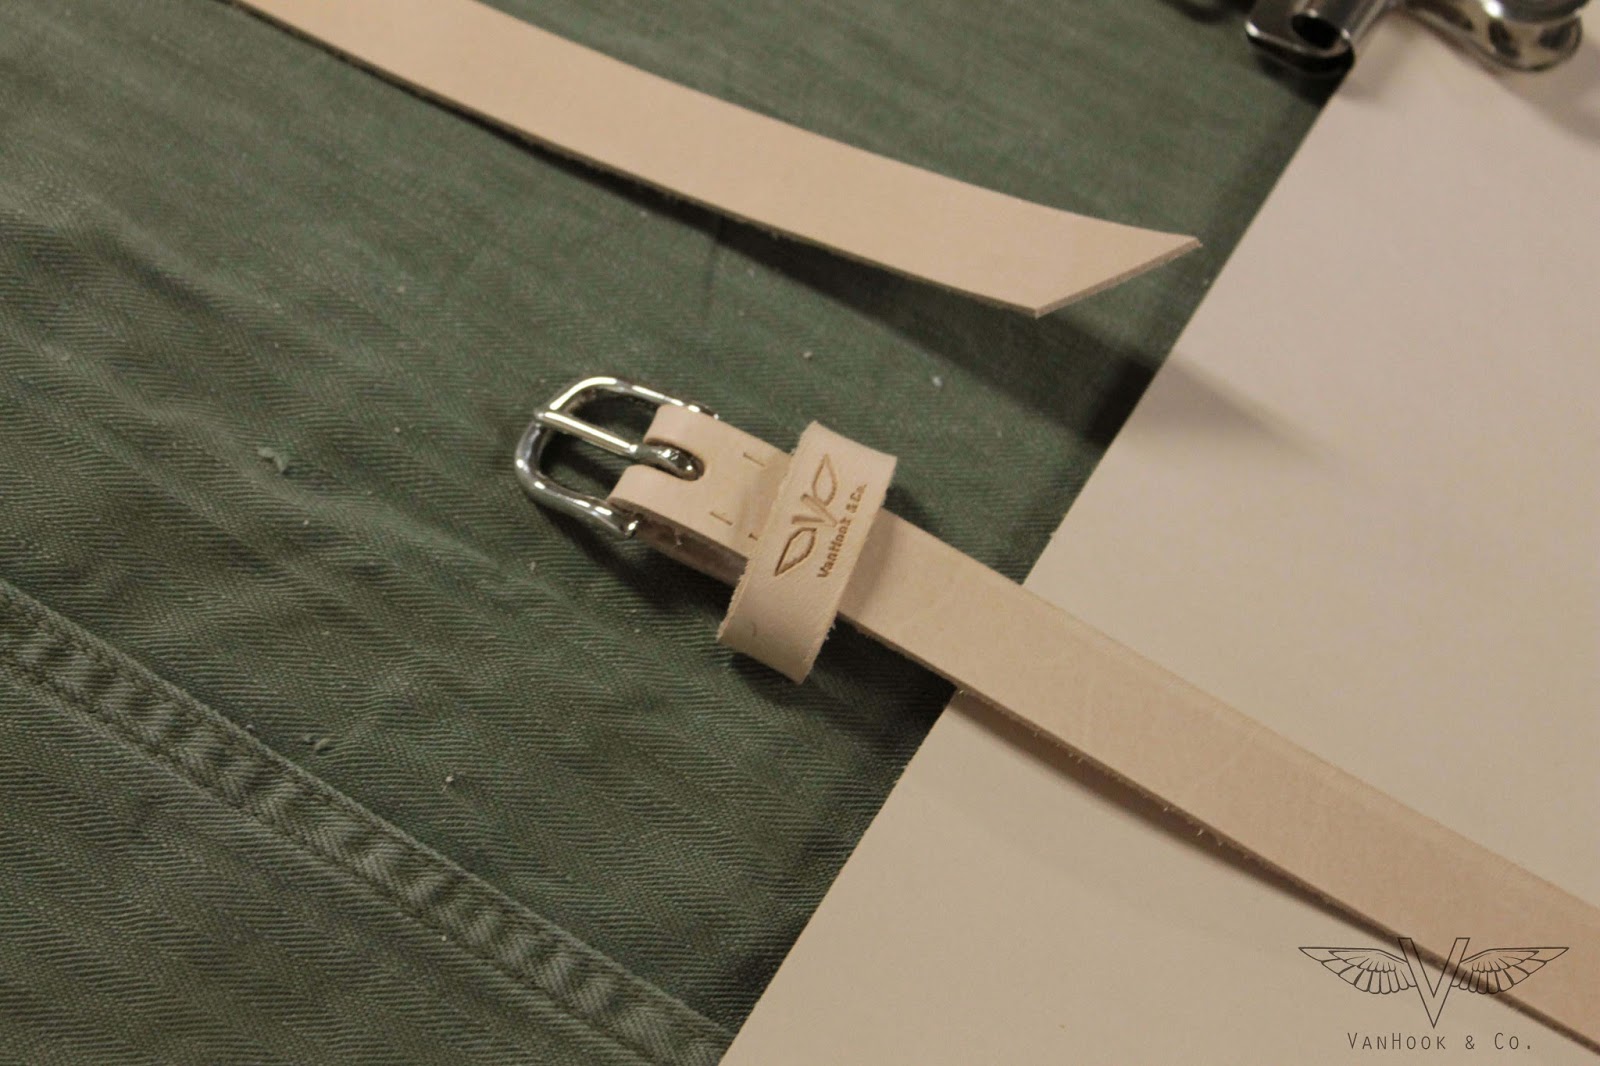
The buckle and leather logo strap keeper are hand stitched.  The rest of it was sewn on my Sailrite machine....
The legs of the mechanic's suit we used had these little tabs with buttons to tighten the leg up around their boot....
I decided to use them instead of adding a drawstring or other closure at the top of the pack.  These make it smaller at the top so it all fits under the flap a little better.
Our first go at the copper rivets...LOVE these.  They just have a really cool look....
 They go through a hole in the leather and have a washer that gets hammered down flush with the leather....
The posts get cut off....
 And the silver setter has a second domed shape to hammer the raw/ cut edge down smoother to hold the washer in place.....
My machine does a great job sewing through some pretty heavy layers.  It's made to sew sails for boats and will go through up to 8 layers of heavy canvas or something crazy like that....
The straps are adjustable with some button studs so we can let it out a bit for the winter coats....
And because it's Doodle's we used our original wood flying "V" stamp on the patch holding the straps on....
I still can't believe he's going to school...part of me is so sad to see him go and part of me is so happy to see him start a new adventure. 


Monday, August 12, 2013

Waxing a Canvas Backpack

We have been talking about making a waxed canvas and leather backpack for awhile and we've also talked about making a backpack for our son who is starting kindergarten this year....
so I started sketching up and idea for what we wanted....
 My husband had this olive drab herringbone fabric  ( a mechanic's suit) that he wanted me to use to make a hat for him.  
But when we started talking about a backpack and doing canvas and leather our son was pretty excited about using it for the backpack.
these are some of the parts and pieces before putting it all together...it was interesting to use the leather in combination with another fabric.
And since we were using the leather we wanted a way to weatherproof the fabric.  We had seen the Otter Wax before in various places and this seemed like the perfect opportunity to try it out.
We did do a small test piece because it does darken the fabric a bit.  But it makes for a nice waterproof seal on the fabric....
The backpack is finished and completely constructed here (I just haven't done photos yet) 
 I used my ironing board which worked good as a nice flat, hard surface to work on.  There are all kinds of videos on their site for how to apply it.  You rub the bar into the fabric, and then can use a hair dryer to help soften it while working it into the fabric with your fingers

  I was able to turn it as I went and work my way around.  The waxing also creates some wrinkles and different coloration on the fabric which I really like.  It has kind of an aged worn look to it.  The waxing directions say to let it cure for at least 24 hours but ours is still feeling a little waxy.  It has been humid here too which probably affects how quickly it sets up....
Photos of the final product to come!


Thursday, June 20, 2013

Boy Mom

 This is how I know I'm a boy mom....
 I'm babysitting the baby toad I caught while mowing.
My little son LOVES all creatures....
talks to them and wants to take care of them.
He has such a tender heart....
 He set up a whole little habitat for him to jump around in including a little swimming pool and a diving board...
which oddly enough Toady seems to be enjoying...
Now my job is to babysit Toady---
To make sure the chickens don't eat him of course....

Monday, April 15, 2013

New Baby Chicks

I think this photo speaks for itself...
He is over the moon right now...
They are sweet little balls of fluff...
We decided to order from the Hatchery so we could buy pullets...
They already have little personalities...and are getting used to their new home.
We ordered 10 this time --  After starting with 5 or so the first time around and losing almost all of the first group we decided to start with more this time....
Hopefully they will all make it but we'll probably lose a couple along the way...
We'll see...

Friday, September 21, 2012

Eastern Black Swallowtail

Meet Katy #2....earlier this summer my sweet little son found a caterpillar and then cried when he took it out and dropped it....
For his birthday he got one of the coolest gifts ever...
a caterpillar castle (a square netted cube) and 3 caterpillars.
A wonderful, giving couple we go to church with like to grow plants to attract the butterflies, and she hunts for the eggs and baby caterpillars to watch them grow and transform....
 She knew how much Seth loved this sort of thing and decided to share with him.  And we felt honored to have them.
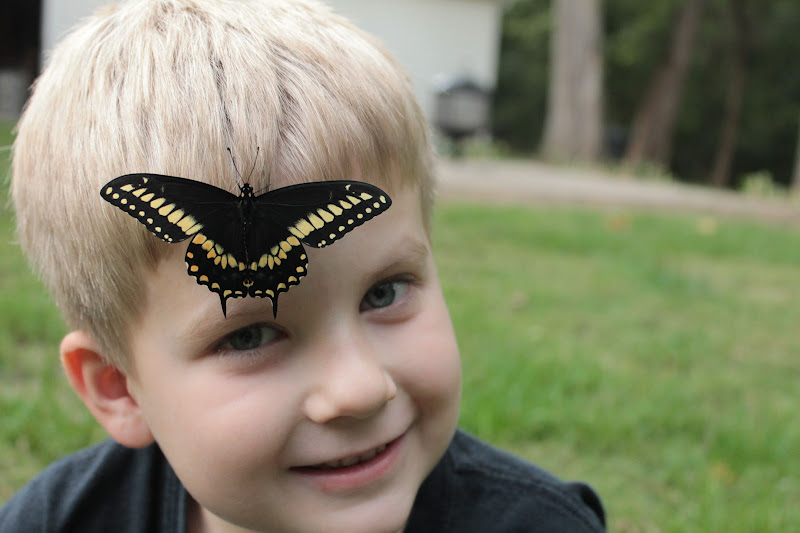
 Thursday afternoon we found our first empty chrysalis and this little beauty below....
 Her wings were still damp I think.  So she decided to hang out and visit with us.  Doodlebug said "it was like she wanted to get to know me and be my friend!"
AMAZING...
 So many wonders in the world when you look...especially when you are 5!  One of the best parts of being a parent I think....seeing things through the eyes of your child.
 Just watching so close and getting to really see her and how different she looks from how she started....
I wonder if when God looks at the caterpillar He can see the butterfly the whole time?


 Wow --and they only live a few days this way...such a short time after they've come so far.
 Absolutely fascinating to see her in this much detail...
 And I will never forget my little son talking to her like she's a person telling her about his day in his innocent way...
 She stayed for about 10 or 15 minutes and watching her and watching my son with her was a little bit of magic on a plain, old Thursday afternoon....

Sunday, July 1, 2012

Lego Train

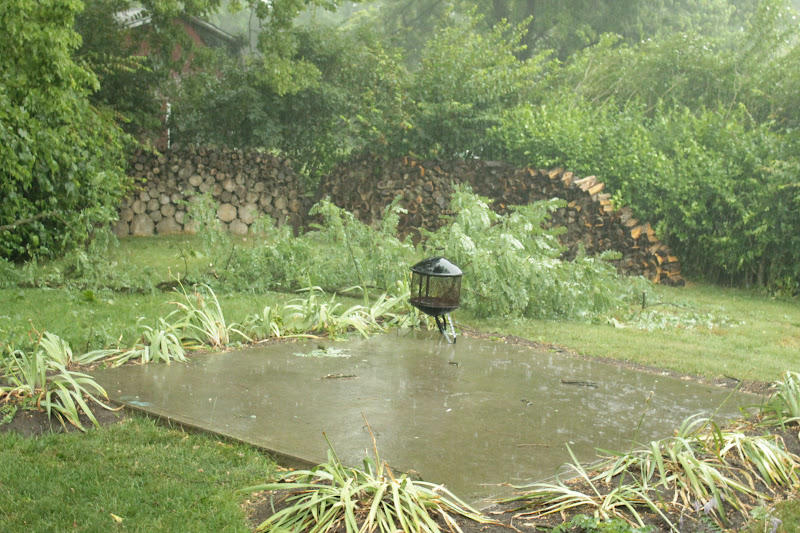
 We had a crazy strong wind storm this past Friday evening while I was right in the middle of laying the new flooring in our bathroom....it brought down alot of branches in our back yard and a whole tree right down the road.  No major damage --we were just without power for the night.
 This would be my son's (and Papa's) latest lego creation....he specifically asked me to take photos and put it on the blog....
 So we had a Train photo shoot this evening :) and these were the best shots....
My sweet son is constantly amazing me....he has quite the imagination!  I cannot believe he's almost 5 years old....time flies...

Tuesday, May 29, 2012

Meet Wedgehead the Ugly Doll

A few years ago my son spied these little monsters in one of the catalogues we get in the mail...
"Ugly Dolls"


And I made a couple for him out of felt.  
Out of the blue the other day he announced that we were going to make another one for him because he needs---
and I quote...."Like 25 of them, Mom to make a whole family!"
So we looked them up online, and I have to admit they're really fun for boys...cute but not girly.  So he chose the two I sketched out above and we made "Wedgehead" 
I freehanded my pattern (I do half of it on a fold) right onto the fabric.  But you can use wax paper to draw it out on first...
then pinned the front to another piece to cut the back of him out...
He's around 18 &1/2" long and his head is about 10" wide.... I used felt for his face...
My circle template for his eye...you could trace the bottom of a jar or cup...
I lay it all out and glue it with fabric glue before I sew to keep it from wiggling around.  These pieces are small and hard to pin...
Sew his face on first then pin him together with wrong sides facing each other...
I use a little french knot with embroidery thread for the center of his eye...
Sew him together and don't forget....
to leave an opening to get your hand in to stuff him and turn him right side out...
Always clip your curves---
All your curves--it makes it all turn right side out so much better and the curves don't pull and bunch up.
Then I pinned up the opening after turning and stuffing him so I could sew him up...
I always start the needle from inside then you come up and stitch across the top edges...
the idea is to make the beginning of your next stitch right across from the end of your previous stitch....
Then when you pull your thread it comes together and is totally hidden in the seam...
Knot your thread when your done and you have your very own Ugly Doll!!!
He's really kinda cute.....
I used wool coating fabric which I had on hand but you could use fleece or even terry cloth would be fun....these little guys would make good gifts!!!!