Showing posts with label painting. Show all posts

Sunday, July 14, 2013

Metal File Cabinet Repurposed

Last summer we had an unexpected bathroom remodel.....
I got rid of the vanity and decided on a simple wall hung sink.  Which eliminated pretty much all of the storage.  We added a really cool wall hung medical cabinet to create a small vanity space last summer then I added a vintage shaving mirror...but I still needed something small for cleaners and extra odds and ends.
 So I have been looking for awhile for the right thing to have in our bathroom that would fit without dominating the whole room.  
We were at a local "shop hop" and I spotted this little metal file cabinet from "Farm to Charm"
The top lifts up and was made to hold hanging files.  The bottom was locking cabinet --which doesn't work anymore because the key broke off in the lock.
 I used ASCP in Duck Egg Blue which I mixed with some cream acrylic paint to get this color....and topped it with some clear wax

 A few week ends ago we were flea marketing and I picked up this cup pull I was going to use on our chalkboard wall calendar to hold chalk....
But it was a perfect fit on this piece and changed the way it looked in a good way....
She fits good in there!  Only took me a year to find it....that's part of the fun when you flea market  Your house is always evolving and you keep adding and changing...

Sunday, April 28, 2013

Hand Lettering 54 Chevy wagon


 My husband has always loved hotrods....
This 54 Chevy wagon belongs to someone who often asks my husband to paint for him....
 So today he painted this logo on the two back windows....
 Since this was on glass he first laid it out with a white grease pencil....
He uses 1 shot enamel paint and mineral spirits to thin the paint...
 It takes a very steady hand...I know I sometimes help him paint depending on the project...
 Today I was just the photographer...messing around with manual mode on the camera 
 Typically he does more of this in the spring when guys are gearing up to do car shows....

 So he usually gets a few guys calling around this time wanting him to pinstripe or letter something....
 He enjoys doing it too...
And we enjoy seeing the various cars that come through our garage....

 This one is fun...it would make a great family car
We were able to get it outside for a little while to get some nice shots in between rain showers here and there....


Thursday, April 25, 2013

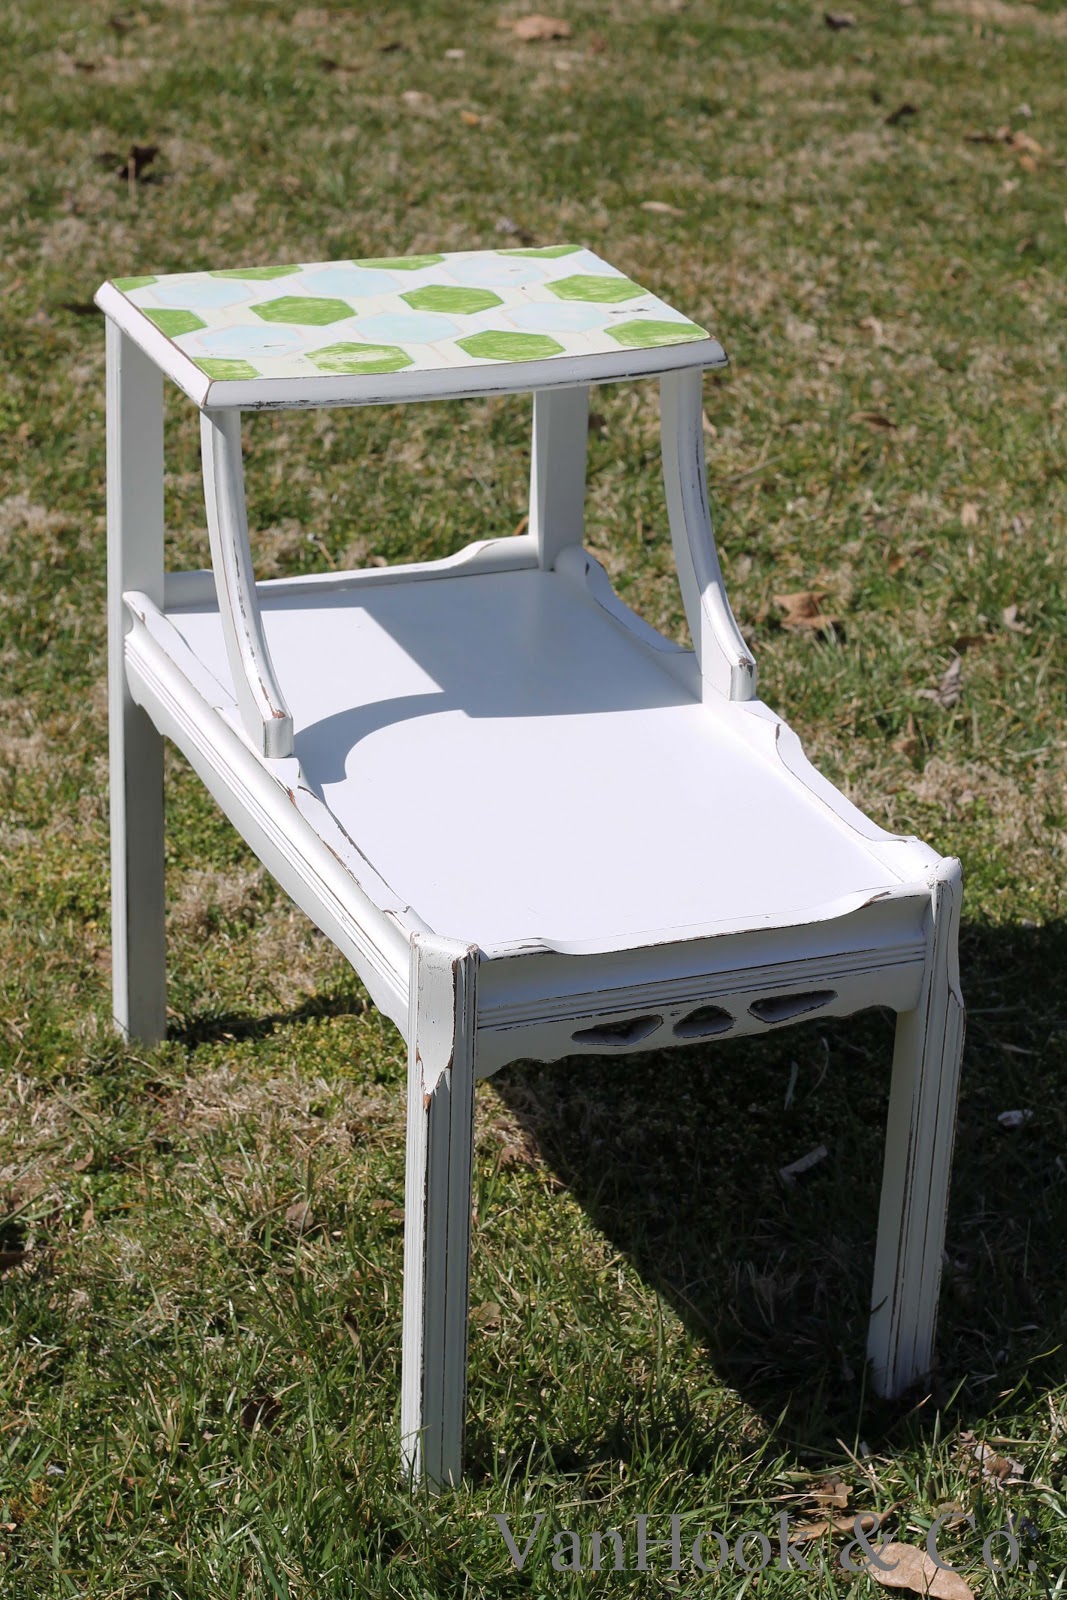
Hexagon Patterned table

We have been restocking our booth space at the Peddler's Mall...
So far we've had a good first month and it has been interesting to see what sells and what doesn't....
This little table actually came from my Uncle and Aunt who we wrangled into helping us stock our booth...
I started with a pale grey/white color.  It's a latex sample I had from painting our living room...
Then I decided to do a hexagon pattern on the top since I love painting by hand and messing around with new patterns...
I laid it all out with chalk which wipes off easily and I did the vertical lines first before tracing the hexagon.
 I am completely mathematically challenged.  So here's a link to how to draw a hexagon for those of you who might be interested...
I used my Martha Stewart acrylic paints....
Then distressed it and finished it up with some wax....
And of course it's now in our little booth space awaiting it's new home...

Thursday, January 24, 2013

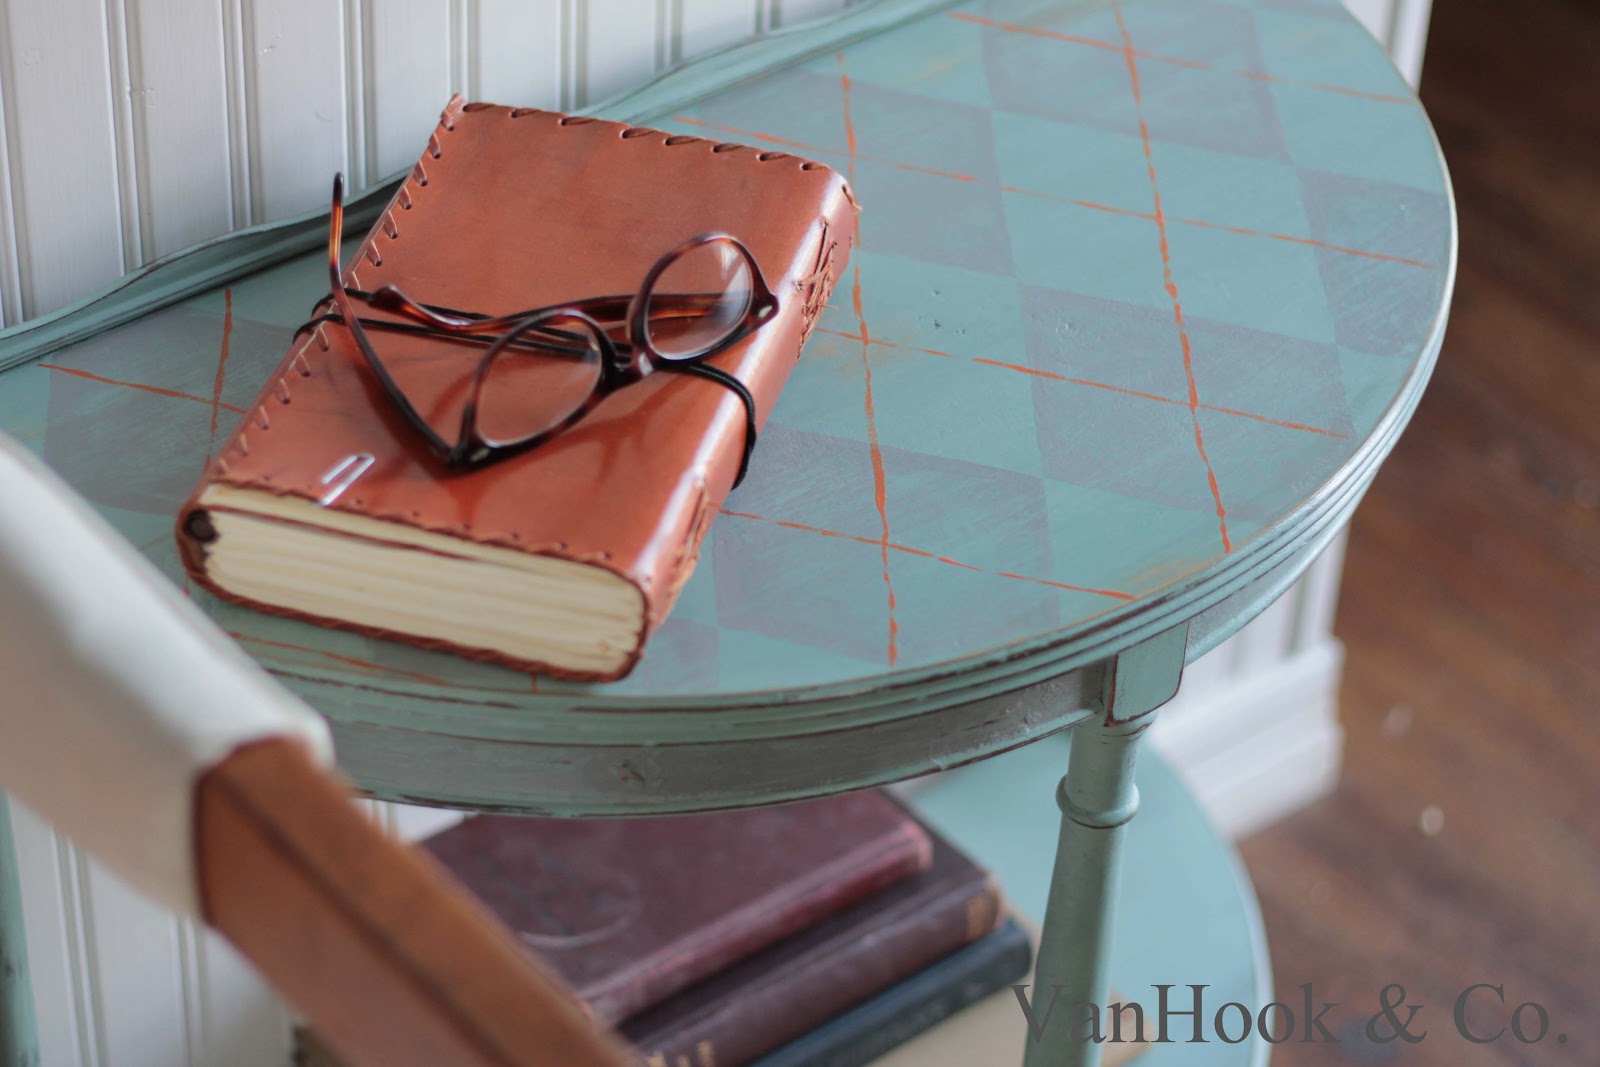
Demi Lune makeover

While we were at the Scott's Antique show I spied this little demi lune table.....
The "before" photo...
I'm thinking the messy basement background helps all the "after" blogtastic photos look even better right??!?!?!
She had some minor veneer issues but over all a great little table...
A hand painted preppy, grey and orange argyle pattern...
She cleaned up nice and now can have a whole second chance at life....
And here's a look at what me trying to "stage" photos looks like...
 They like to keep it REAL for me....
Them and all the dust bunnies I had to sweep out of the way after checking the first couple of photos.
Boring women have clean houses people!  
I know you're with me.....

Sunday, September 9, 2012

Stenciling on fabric with acrylics

I do a lot of projects for people that are personalized.  Who doesn't love having their own name, birthday, kids' names, etc on something????  So the above photo is my big professional setup for stenciling some drop cloth fabric.
For this project (an ottoman slipcover) I was doing numbers in a grey or worn black look. So I start with black and cream.  I don't do pure white.
I take my stenciling brush and  holding it straight up and down I pounce it lightly in the black and then start a new color in between.  
I take my brush (without cleaning it) and get a little cream and add it to my new color...
Here I either keep using the plate or I get a scrap piece of fabric and pounce the brush to unload some/most of the paint.
I use painters tape to lay out my straight bottom line if I'm doing a sentence or set of words.  I line up the bottom of my stencils with the top edge of the tape.
When I pounce my brush onto the fabric through the stencil it almost looks like there isn't enough paint.  This is what gives it the faded look....
This is after the stencil is removed....
I don't measure between letters or numbers.  With all my stencils I can see through the plastic and I just eyeball the spacing between....
I don't worry about mixing my paint all at once either I just keep mixing it a little at a time.  You're only using two colors and the variations in shade add to creating the faded, vintage look.
  This is another good example of using a light coat of paint.  If your paint is heavy or thick it will have a totally different look...
Here's the same number without the stencil.

And here's a peek at the ottoman slip cover--  More on that later...It's already in it's happy home with it's proud owner!!!


Monday, August 27, 2012

Feminine Zinc Topped Table

 I LOVE this room...but it's not mine :)  I just "vanhooked" the table for a sweet friend of mine.  I love the red print on the curtain fabric with the dark gray on the walls and the crisp white bedding....this is her new guest room since her oldest son recently got married and moved out....
The before photos are upside down because I'm always excited about starting and I forget to take them until I've already started....
This table had sat in their entry way of their home and unfortunately a chandelier fell on it and broke off a piece of the top right in the middle of the table....
So I painted her with ASCP in Duck Egg and distressed it a little bit...
My husband topped it with a piece of zinc to disguise the "injury"...
Now she's a got a whole new look working...
Even though there was a "shape" to the edge of the table top the zinc still wrapped around it pretty easily and followed the edge really well....
I painted the hardwear and the edges of the drawers with ASCP in Old White....
She is now *girly* compared to how she looked before...
We did a whole post on topping a table with zinc HERE if you're interested in seeing how we do it. And there is another post on aging it HERE... 
A nice piece of furniture given a new phase of life!