Showing posts with label handbags. Show all posts

Thursday, June 5, 2014

Leather iPad Cable Satchel

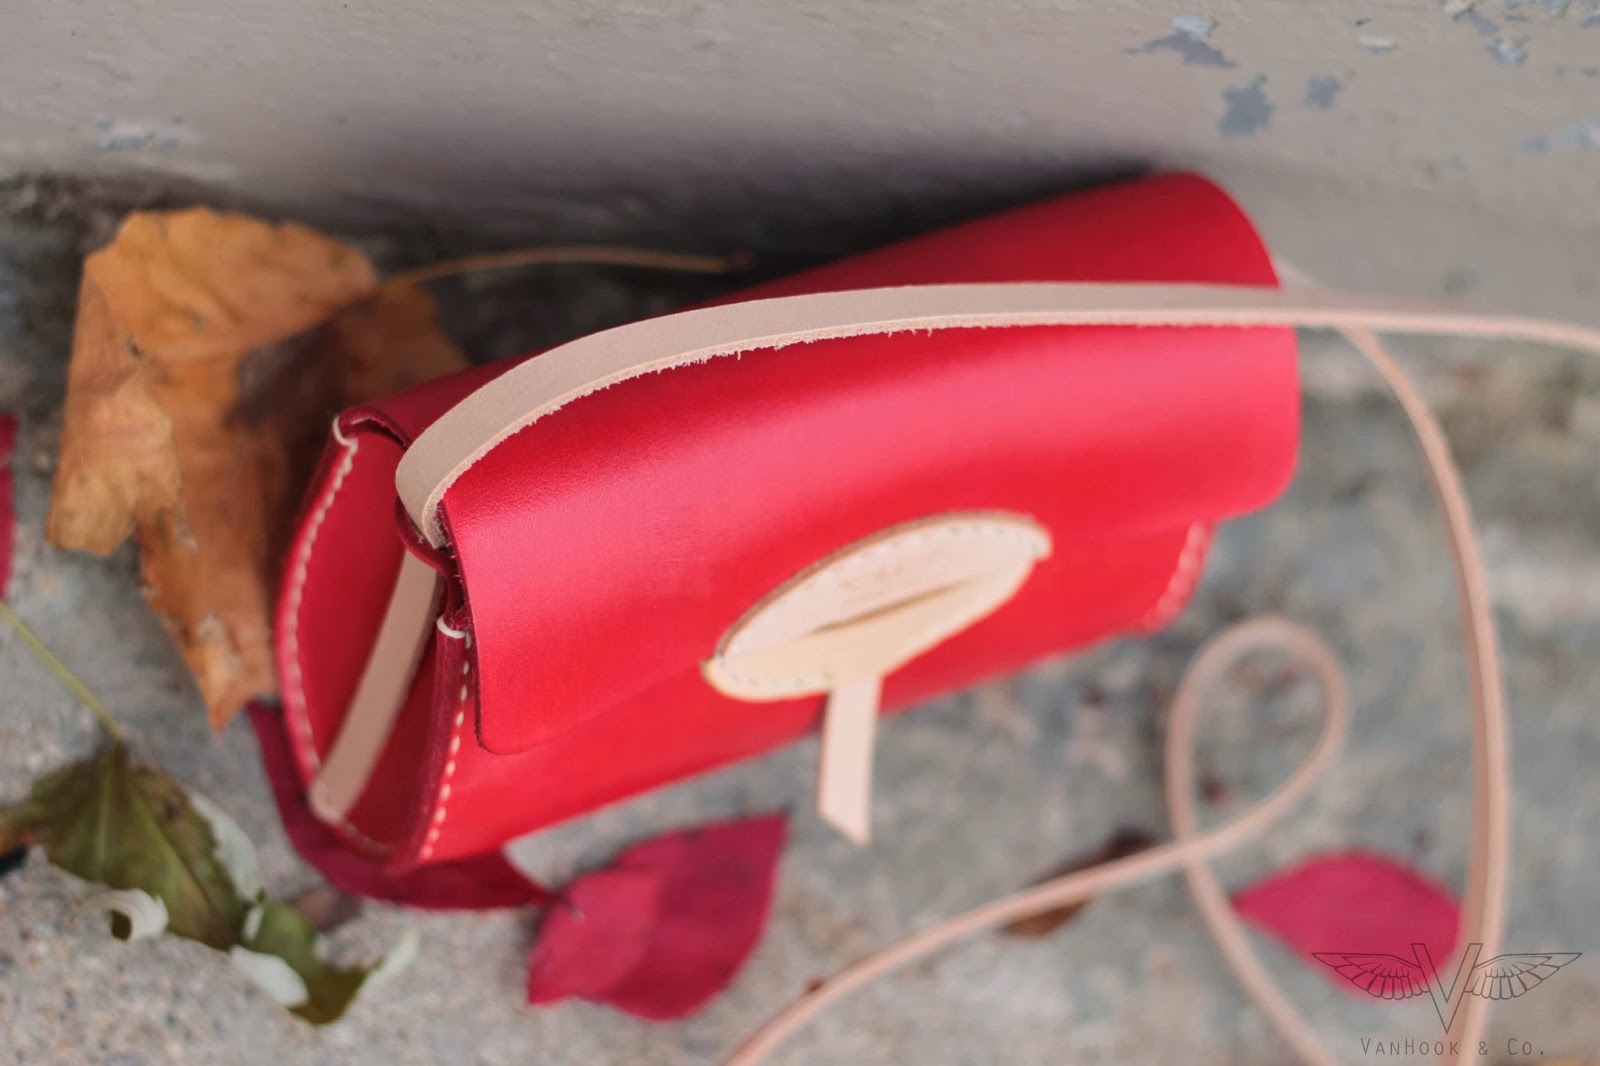
The Cable Satchel designed and made by the male half of this team.  This is the perfect size to hold an iPad in either section.  It's 9 &1/2" x 11"
Copper rivets for all the straps...they will patina really nicely along with the natural leather.
An extra piece of leather for the shoulder strap to reinforce the rivets since this bag could hold quite a bit of weight
Two sections each about 2" wide.  
Nice, simple strap attached to the bag with copper rivets. A buckle to adjust the closure depending on how full each section is...

Interior pockets for the smalls that tend to end up in the bottom of a larger bag. These will have to be redesigned since now that I'm using it I've discovered they are a bit too tight.  You can see that my pens are clipped and hanging outside the pocket.
Key clip, large cell phone pocket, and a couple of pen pockets.   I think one large piece of leather divided into sections by stitching would work better.  It would also accommodate different cell phones since those can vary in size quite a bit.
Overall, a nice sized bag especially if you carry an iPad with you all the time.  It holds a book really nicely as well if you're more "old school" ;)


Sunday, January 26, 2014

Leather Backpack with Wallet

 The latest idea to make the leap 
(from my constantly working noggin')
to reality...
This is the largest bag we've made so far and I wanted it to appeal to a lot of people.  It makes a great "mom" bag but I think it would be a great for school or the office as well.
 I knew I wanted it to have some sort of pocket to hold the things I need to be able to get to fast without having to dig to the bottom.  Which led to the idea of making it hang in the back of the bag so that I could take it out and carry it as a wallet....
 The button studs allow for multiple lengths on the straps so it can be closed up tight when carrying it alone, or closed loosely so you can get into it while it's serving as a pocket.
The back interior has a big divided pocket which would easily fit most phones
 Three nice sized card pockets and one large pocket across the interior front side....
 Even while it's hanging in the backpack you can still easily get to all the things inside... 
 I was worried it might take up too much interior space in the backpack but it's actually flatter than I thought it was going to be...
 I'm not sure why I haven't done a key clip in all of my bags...I love it.  Especially in a large bag I don't want to have to search around for my keys.
 The little oval strap keepers will have to be changed before I list this on Etsy...
They are too tight and the stiching is already pulling away from the bag quite a bit. 
I think I have a solution but I have to try it out to see if it will work...
 The straps are sewn on the bottom of the bag so the straps can be crossed like this 
--which supports the bag a little bit better if there is something really heavy in it  
--or worn straight...
Here's what happens when I'm home by myself and I'm so excited I can't wait for my husband to take a photo for me.  I can't believe you can't see the camera in the mirror...
 I'm excited to list this one.  We'll have three listings...together as a set and then each by itself
And there is another bag in the works too from the male "designer" of VanHook & Co.
I'm itching to get my silver soldering things out too so I can start messing around with all that....

Thursday, January 2, 2014

Large Yellow Molded Purse

This bag is special....it's pretty much how it all started.  My husband surprised me last Christmas with a bag just like this only mine is Tan.  I was blown away needless to say.
Then we decided to make a few other things and opened an Etsy shop...just hoping eventually someone would buy something.  Now we have come full circle--
 almost exactly a year later making this bag...
I wrote a post about molding the leather that you can see here 
It explains it in a little more detail.  The molding process takes a couple of days.
This is a photo of all the parts ready to be dyed.  All the stitching holes are laid out on each of the parts and all the edges are beveled...the strap holes are punched...
The pieces all getting stitched together...there is an interior pocket in this bag 
so the interior pocket, the straps with the D rings, and the closure tab all get stitched first  before stitching the front and back of the bag together...
And when I say "stitched" I mean by hand with one piece of waxed thread and a needle attached to each end...
One needle going in each side and crossing over each other, "sandwiched" inside the leather.  It's a very strong stitch.  The wax keeps the thread from sliding around.  Basically it sticks to itself....
I also enjoy making our ideas in different colors..it's fun to see it come together in a different color.
The Yellow is very striking...

Monday, November 11, 2013

Mini Cross Body Bag in Scarlet

This little beauty is going on Etsy here soon...working out some measurements and details on the listing...
I have been working on a large, molded bag in Yellow and I wanted to get some photos of it on a person so my husband took a bunch of photos of three different bags while I was wearing them and I tried not to squirm while he was taking the photos.
This is the smallest bag I 've made.  And it actually came about because we cut the wrong pattern for a wallet so I decided to try making a bag out of it.
 It holds a phone, keys, sunglasses and a few cards..not much more than that, but it's great because it's so light to carry.  
The closure is my favorite part...all leather.  There is no metal at all on the bag itself.  The tab slides down through the bottom half of the oval.  And is actually very secure and tight.  
Kind of fun to think about styling the photos....
all those colors and combinations...


Tuesday, August 6, 2013

Little Red Wallet

 Second try on the wallet...
See the first one here
Once I sent photos to my customer she decided to go with the red color too instead of the tan.  
 The closure/logo piece works great on this one.  I love the look of the longer skinnier oval but the strap is really difficult to get in and out.  So I made it more circular this time....
 This is her wallet...much better than my first one.  The rollover at the top is a much better fit...
 This is long enough to hold a checkbook as well as a cell phone...
 The bottom of the bag....
I really like the white stitching on the red leather.
I'm dying to try this wallet in the Evening Blue I think it would be really sharp.  Or maybe a teal blue....
And I also learned how to "batch process" my photos with our new watermark...makes me sound very computer competent!!!  
I finally decided to check out a book from the Library so see I still did it the "old school" way!!!

Friday, August 2, 2013

Custom Wallet for Etsy

I posted a few days ago about this bag I made in natural leather for a friend of mine....
While she was shopping at a local store, a lady asked her about it and where she got it.  
After talking with my friend she contacted me through our Etsy shop and sent me a photo of a wallet she liked.  She wanted me to design something similar and this is what I came up with....
 I sketched up some ideas thinking about what should fit in it and how to make it work good and look good...it should really do both.
 After sending her the photos of the sketches to see if it was something she was interested in, I started working out a tagboard pattern....
I cut out all my pieces for another "macaroni prototype" that will be used by me to work out some of the little details....
Then decided to dye the outside section this yummy color....
I mixed the "Sunshine Yellow" and the "Scarlet" in several layers to get this persimmon-y orangey red color.... 
I am still working out some kinks...my little oval with the logo on it needs to be a bit bigger vertically and smaller across...
I'm also trying to decide what to do with the strap so right now it's really long. 
I wanted to be able to create some kind of a wrist strap so you can carry it that way.  Still working that out...
 And I need to add about an inch to the overall length so that I have a bigger rollover at the top and the top flap comes down farther when it's all closed up...
You can see in the photo below how the cards are curving in because there isn't quite enough space there....
The phone actually fits in there really well.  An iPhone would fit even better.  Mine is just a track phone so it's bulkier but it still works great.
 I have about 6 cards in each of the card slots so it holds quite a bit....
 I am excited about this one---
It was really fun to work with the customer, see what she wanted and then work up a design.

 I'll be adjusting the pattern to accommodate all the little size issues and working on a second one for the customer...
Of course after making this one now I have more ideas for variations on this idea.  
And we have a satchel idea sketched up we'd like to try....
Doodlebug has requested a backpack for his big first year of school...so we're thinking about repurposing some WWII green herribone canvas and waxing it ourselves...